
golf simulator
Golf Simulator Hitting Bay Budget Planner for a One-Car Garage: What to Buy First and What to Defer
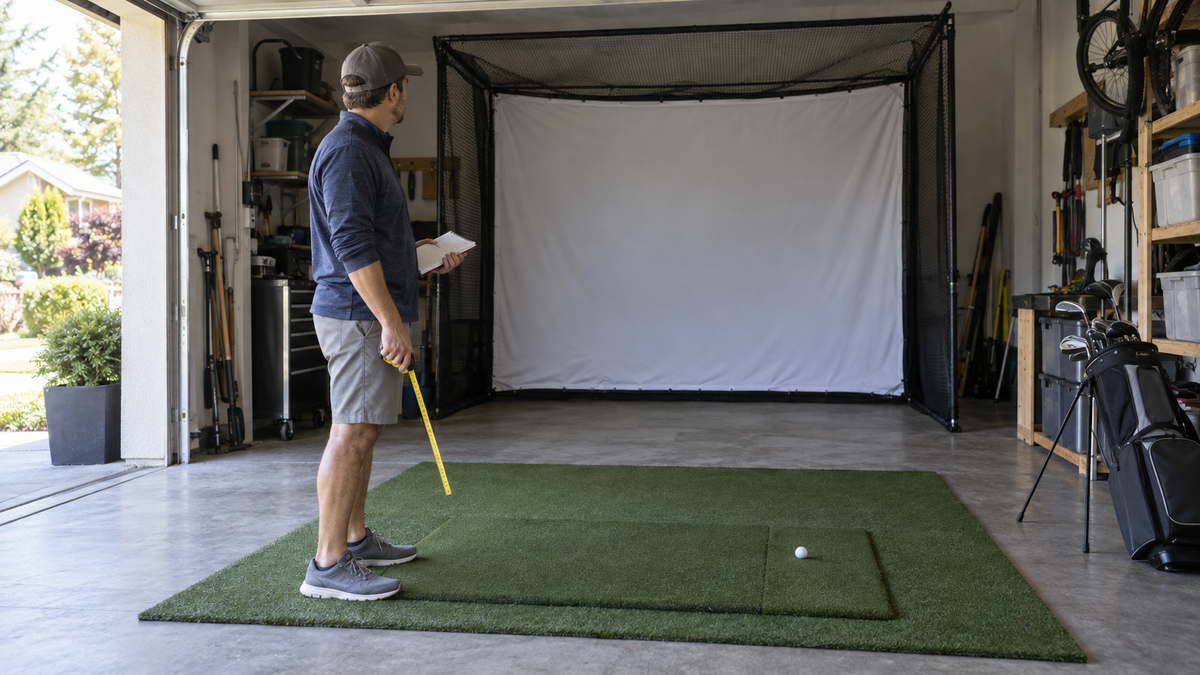
A standard one-car garage runs about 12 feet wide and 20 to 22 feet deep. The minimum bay most guides call workable is 10 feet wide, 15 feet deep and 9 feet tall. (Source: Golfers Authority / GOLFJOY vendor guidance)
So the box is big enough on paper. What trips people up is the money: spend $4,000 on the wrong pieces first and you end up with a launch monitor and nowhere safe to hit it. This golf simulator hitting bay budget planner for a one-car garage walks you through the fit checks, three spend levels, and the order to buy in.
Step 1: Run the Garage Fit Checks Before You Spend a Dollar
Three numbers decide everything: width, depth and ceiling height. Measure all three with a tape, not by eye.
Width and depth
Ten feet of width is the floor. Below that, plan on irons and wedges only, because a driver swing needs room on both sides. Depth has to cover your stance, the ball flight to the screen, and the air behind it. If you want exact zone numbers, our small garage hitting bay layout guide breaks the space down zone by zone.
Ceiling height
Garage ceilings are the usual dealbreaker. Most sources recommend 9 to 10 feet, and a few say 8.5 feet can work in limited cases. (Source: PlayBetter, MyGarageGolf, Golfers Authority) Measure at your hitting position, not at the highest point in the room. A garage door track or opener hanging down can steal the inches you need. Our garage ceiling height guide covers the real numbers before you buy a frame.
Garage passes the fit checks? Start with the frame.
Shop the DIY Enclosure Pipe Framing KitFrom $349.95 to $414.95, depending on size and options.
Step 2: Know Where the Money Actually Goes
Most home golf simulators land between $3,000 and $15,000. A frugal build with enclosure, screen, launch monitor, projector and mat is possible for roughly $3,000 to $5,000. (Source: Golfers Authority, Austads, Practical Golf)
The launch monitor is the big swing factor. It often eats 40 to 60 percent of a DIY budget and runs $2,000 to $10,000 for home use. (Source: Practical Golf forum / Golfers Authority) That is exactly why you should not buy it first. Frame, screen and mat are the pieces that make the bay safe and hittable, and you can pick the monitor tier to fit whatever is left.
By the Numbers: Typical Component Costs
Here is how the market ranges stack up. Enclosure plus impact screen runs about $1,000 to $6,000. Hitting mats start around $100 to $300 at the low end. Budget projectors run about $400 to $800. (Source: Golfers Authority, Shop Indoor Golf, The Sport Screen)
Typical component cost by category, mid-point of cited ranges
Source: Industry estimates, midpoints calculated from ranges in Golfers Authority, Practical Golf, and The Sport Screen (USD)
Notice the pattern. The mat and projector are small line items. The enclosure and monitor are where the budget lives, so those are the decisions worth slowing down on.
Step 3: The Buy-First List for a One-Car Garage
Buy in this order and you can stop at any point with something usable.
- Frame. The DIY Enclosure Pipe Framing Kit is from $349.95 to $414.95. It is the structure everything else hangs on.
- Impact screen. The Standard Golf Impact Screen is from $179.95 to $489.95. Step up to the Preferred (from $298.95 to $774.95) if you plan to hit a lot of drivers.
- Mat. The HotShot Golf Mat System is from $499.95 to $1,259.95. In a narrow bay, see our hitting strip vs full mat comparison.
- Launch monitor. The SkyTrak Max is $1,695.00 and the FlightScope Mevo Gen2 is $1,149.00. Both are entry-level choices that keep the budget breathing.
Defer the projector and premium software. You can hit into a screen and read numbers on a phone or tablet long before you add a big picture.
Step 4: Three Spend Levels for Your Bay
The table below combines the fit checks with the three budget tiers, so you can see pass or fail on the room and the spend plan in one place.
Garage fit checks and three-tier bay budget (one-car garage)
Swipe to compare →
| Item | Requirement / Tier | Guidance |
|---|---|---|
| Width | 10 ft minimum (12 ft typical garage) | Leave about 6 ft side clearance if possible; below 10 ft, irons and wedges only |
| Depth | 12-15 ft minimum (20-22 ft typical garage) | Leave room for ball flight and the screen |
| Ceiling height | 9-10 ft recommended (8.5 ft in limited cases) | Measure at the hitting position, not the room's high point |
| Tier 1: about $3k-$5k | Frame/enclosure, impact screen, mat, entry launch monitor | Defer projector and premium software |
| Tier 2: about $5k-$10k | Larger enclosure, better mat, mid-range launch monitor, projector | Defer premium software and extras |
| Tier 3: about $10k-$15k+ | Premium enclosure, high-end launch monitor, bright projector | Order the enclosure, framing, and mat as one bundle |
Tier 1: Safe and hittable
Frame, screen, mat and an entry monitor, with the projector left for later. The DIY Golf Simulator Enclosure Kit (from $999.95 to $1,874.95) is the simplest way to get the structure in one order. Check current pricing at your size before checkout.
Tier 2: Add the picture
This is where a larger enclosure, a better mat and a projector come in. The Pro Golf Simulator Enclosure Kit runs from $3,409.95 to $5,609.95. For the picture, the BenQ TH671ST is $949.00 and the BenQ AH30ST is $1,499.00. If you would rather buy it all at once, the SkyTrak Max x Carl's DIY Golf Simulator Package is from $6,662.10 to $7,669.10.
Tier 3: One bundle, no gaps
At this level, order the enclosure, framing and mat together so the pieces are sized to match. The Complete DIY Golf Bay Package (No Launch Monitor) is from $3,252.70 to $3,717.70, which leaves you free to pick a premium monitor separately. Want the monitor included? The Uneekor EYE Mini x Carl's DIY Golf Simulator Package is from $7,425.85 to $16,319.75. Pair it with the BenQ LK830ST at $2,499.00 if you want a bright 4K image.
Step 5: Avoid the Three Budget Mistakes
Buying the monitor first. It is the biggest line item and the easiest to regret. A monitor with no safe enclosure is just an expensive way to put a hole in the drywall.
Skipping the fit check. A frame that looks fine online can hit your garage door track. Measure twice, then order.
Buying pieces that do not match. Mixing sizes costs you rework. Our enclosure, screen and mat bundle checklist lays out what to buy and in what order, and our garage build cost breakdown shows every line item at three tiers.
Want to test a budget? Build your simulator in 3D with your garage size and watch the total as you choose each part.
Your Next Move
Measure the garage tonight, pick your tier, and start with the structure. The Complete DIY Golf Bay Package (no launch monitor) bundles the bay in one order, or compare all golf simulator packages.
Shop the Gear
Impact Screens we recommend


Not sure which simulator fits your room?
The two-minute 3D Simulator Builder checks your space and budget against every system we carry.

Keep Reading


