
golf simulator
Golf Simulator Ceiling Protection: Baffle vs Net vs Padding for Skied Shots
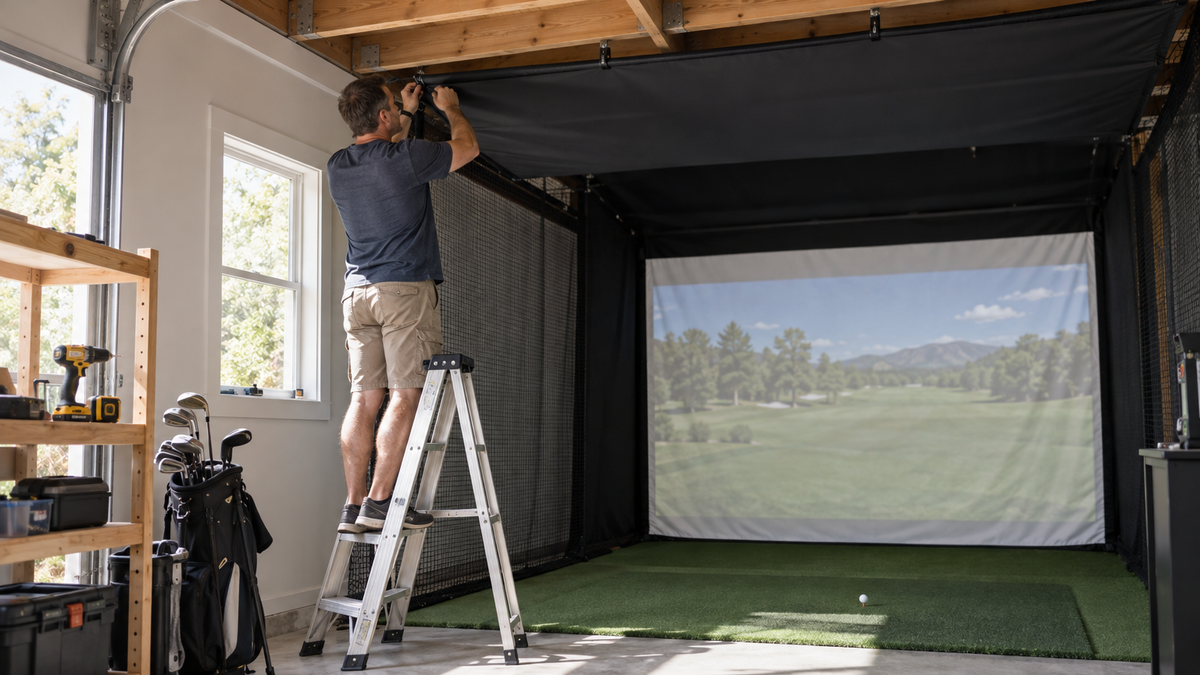
You catch the ball a little low on the face, it rockets straight up, and the next sound is plaster or a light fixture giving way. Wall padding and a good screen do nothing for that shot, because it never goes toward the screen at all.
The ceiling is the missing half of most bays. This guide covers what to hang above the golfer, how the three common options differ, and how to fix each one so it stays put. It is aimed at anyone planning golf simulator ceiling protection before the first full swing.
Why Skied Shots Are the Real Ceiling Risk
Most people size a room around the swing arc and forget the ball flight. A driver swing wants roughly 10 feet of ceiling to be comfortable, and tight rooms sit closer to 9 feet (Source: Trackman, 'How much room for a golf simulator'). In those rooms the ceiling is not far above the top of a skied ball's path.
If you have not measured yet, start with our wall and ceiling clearance measuring guide. Then come back here for what to do with the space above the screen.
Where the ball actually goes
Skied balls and flop shots come off the clubface close to the screen. That means the danger zone is concentrated at the front of the ceiling, not spread across the whole room.
Builders on the Golf Simulator Forum report that covering roughly the first 5 feet in front of the impact screen works very well. Their usual design is a sloped panel that makes the ball hit at an angle and drop straight down (Source: Golf Simulator Forum build threads).
By the Numbers: How Hard Does a Skied Ball Hit?
An average 14.5 handicap golfer swings a driver at 93.4 mph and launches the ball at 132.6 mph, a smash factor of 1.44 (Source: Trackman average-golfer benchmarks). A five handicap pushes ball speed to about 147 mph, and a 10 handicap sits near 138 mph (Source: Trackman combine averages).
Not every skied ball leaves at full speed, but a clean-ish mishit can keep most of it. That is enough energy to dent drywall or smash a fixture, so protection has to be sized for the fastest player who will use the bay.
Typical driver ball speed by golfer level (potential skied-ball impact speed)
Source: Trackman combine averages and average-golfer benchmarks. Values in mph ball speed with a driver.
Baffle vs Netting vs Padding
There are three realistic ways to protect the ceiling. Each handles the ball differently: a baffle deflects it, netting catches it, and padding absorbs it.
Ceiling protection options compared
Swipe to compare →
| Option | How it works / how it hangs | Relative cost |
|---|---|---|
| Safety baffle | Sloped, tensioned panel framed from the ceiling near the screen. It catches skied balls and drops them to the floor. | Mid |
| Netting | Light net on hooks or a frame across the front of the ceiling. It needs wide coverage and a gap to the ceiling. | Low |
| Padding (foam or gym tiles) | Panels fixed directly to the ceiling. It absorbs impact, but balls rebound, so it needs strong fixings. | Mid |
Netting: cheapest, but needs room to work
Retailers describe netting as the cheapest and lightest option. The catch is coverage: it has to span a broader area to catch balls, and it needs a gap behind it so a ball can slow down instead of pinching against the ceiling (Source: Simply Golf Simulators ceiling-protection guide).
Padding: absorbs locally, rebounds
Padding works where you know the ball will land. It has to be placed strategically and with clearance from the surface behind it (Source: AK Athletics ceiling-protection guide). A ball that strikes it can still bounce back toward the hitter, so it suits a small target zone better than a whole ceiling. If you already padded your walls, our wall padding guide covers which materials go where.
Baffle: deflect and drop
A baffle does not try to stop the ball in the air. It turns the impact into a glancing hit so the ball loses speed and falls near the hitting mat instead of ricocheting. Because most skied shots start near the screen, a baffle across the front of the ceiling covers the highest-risk area with the least material.
Building a Pro enclosure? Add the matching top protection from the start.
Shop the Pro Enclosure Safety Baffle, $50.00How to Hang It So It Stays Up
The material matters less than the fixing. Protection that takes occasional high-speed hits is heavy and gets pulled hard, so guides call for strong hooks, anchors or screws into joists, not drywall alone (Source: Golfers Authority DIY ceiling and wall protection guide). A baffle that comes loose is a hazard of its own.
- Find the joists. Mark them with a stud finder and plan every fixing point onto wood.
- Hang the front edge first. Keep it close to the screen frame so the first 5 feet are covered.
- Set the slope. Angle it so a ball hits and rolls down and forward, away from the golfer.
- Tension and test. Pull out slack, then tap-test fixings before anyone swings.
Not sure how your frame and ceiling meet? Our comparison of ceiling mount vs freestanding frames shows what you can hang from in each case.
Matching Protection to Your Enclosure
If you are building a DIY frame, the DIY Enclosure Safety Baffle is $40.00 and is sized for that kit. On a curved build, the Curved Enclosure Safety Baffle is $50.00.
If you want extra absorption near the screen, the DIY Enclosure Foam Insert Kit is $150.00 and pairs well with a baffle rather than replacing it.
When the ceiling is low
Tight rooms need protection most, because there is less distance for a skied ball to lose speed. Check your numbers against our garage ceiling height requirements before you commit to a layout. You can also test the whole room and see where a baffle fits when you Build your simulator in 3D.
The Short Version
Hang a baffle across the first 5 feet of ceiling in front of the screen, fix it into joists, and add padding only where you see repeat strikes. Use netting if budget is the main limit and you have the space to give it wide coverage.
Ready to price out a complete bay with the protection built in? Browse the golf simulator packages and pick the enclosure that fits your room.
From This Guide
Ball containment for your bay


Not sure which simulator fits your room?
The two-minute 3D Simulator Builder checks your space and budget against every system we carry.

Keep Reading
Related guides

golf simulatorGolf Simulator Projector Shadow: Three Mounting Positions That Remove It

golf simulatorGolf Simulator Hitting Bay Budget Planner for a One-Car Garage: What to Buy First and What to Defer

DIY golf simulator build timeGolf Simulator Enclosure Build Timeline: Weekend Build vs a Week of Evenings