golf simulator
Golf Simulator Impact Screen Viewing Angle Guide: What Gain Ratings Actually Mean for Your Room
Here's something most simulator builders never think about until it's too late: your projector and screen can be perfectly matched on paper, and your image can still look washed out in the corners, blown out in the center, or completely different depending on where in the room you're standing.
That's not a projector problem. That's a viewing angle problem.
Viewing angle determines how well your screen holds image quality as you move away from the center axis. Get it wrong and you'll fight hotspots, edge dimming, and color shift that no brightness adjustment will fix. Get it right and your image looks dialed in from every position in the room — tee box, side chair, or the doorway behind you.
This guide covers exactly what viewing angle means for impact screens, how gain ratings control it, and how to set up your room to get the cleanest image possible.
What "Viewing Angle" Actually Means on an Impact Screen
Viewing angle isn't just about where your eyes are — it's about how your screen scatters light back into the room.
When a projector throws light at a screen, the screen either sends that light back evenly in all directions (wide viewing angle, lower gain) or concentrates it more tightly toward the center (narrow viewing angle, higher gain). The tradeoff is real: a wide viewing angle screen looks consistent from anywhere in the room but sacrifices peak brightness. A narrow viewing angle screen looks brilliant head-on but dims and shifts color as you move off to the side.
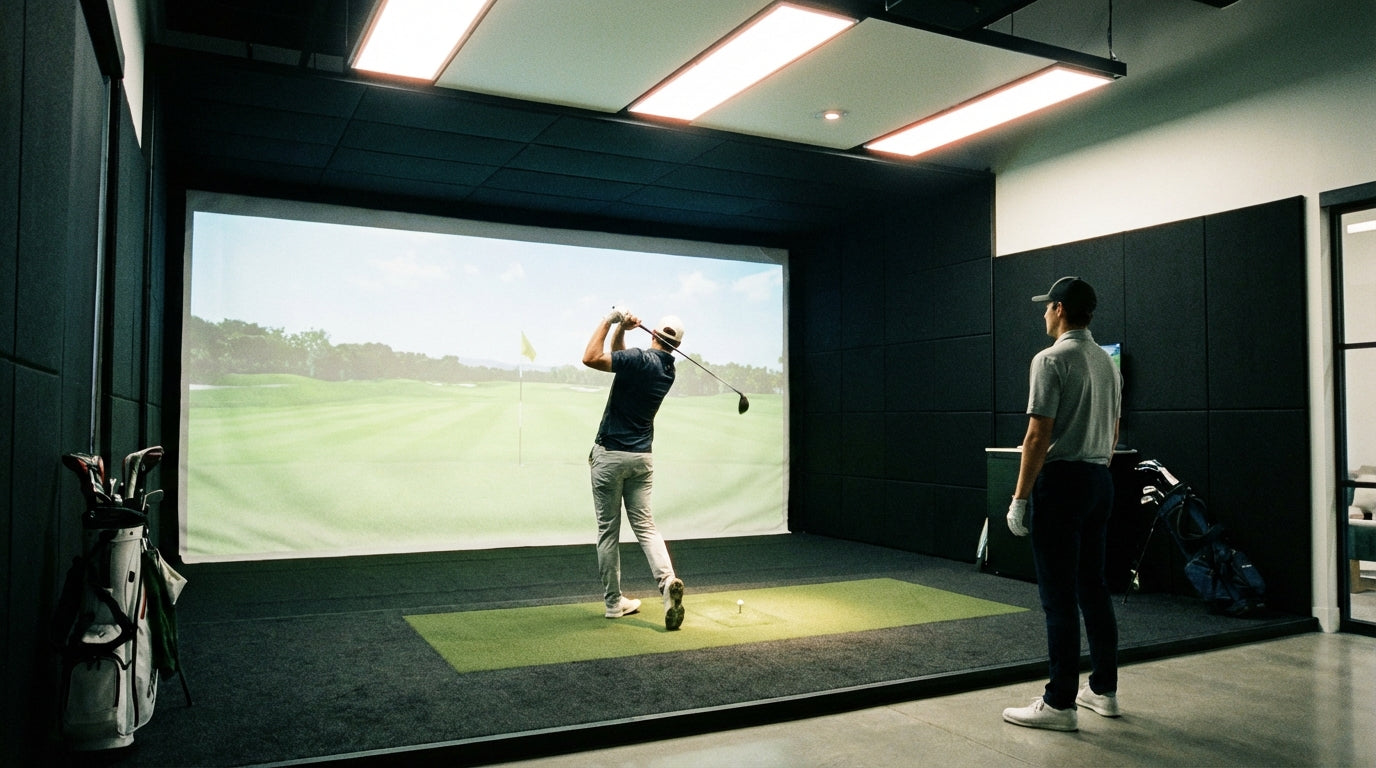
For a golf simulator this matters in two specific ways. First, the primary playing position — directly behind the ball, facing the screen straight on — needs great image quality. Second, if your room is wide enough that you're ever standing at even a modest angle to the screen, or if anyone's watching from the side, you need enough angular coverage to keep the image usable from those positions too.
Screen Gain Ratings: The Number That Controls Your Viewing Angle
Gain is the key spec. It measures how much light a screen reflects compared to a standard white reference surface, where gain 1.0 = equal reflection in all directions.
A gain-1.0 screen scatters light evenly — good viewing angle everywhere, no brightness boost. A gain-1.3 screen reflects about 30% more light toward the center viewing axis, but brightness falls off faster as you move sideways. A gain-2.0 screen can look stunning head-on while appearing noticeably dim at just 30–35° off axis.
When Low Gain Is the Right Call
If your room is wide — 15 feet or more — and people will be watching or standing at different positions, gain between 0.9 and 1.2 is almost always the better choice. The image will be slightly less punchy at center but stays consistent across a broader field of view. It's also more forgiving if your projector isn't perfectly centered relative to the screen.
When Higher Gain Makes Sense
Narrow dedicated bays — under 12 feet wide with you always shooting from directly behind the ball — can benefit from gain up to 1.4. You'll get a brighter image at the tee without much penalty because you're never standing far off axis anyway.
Go above 1.5 and you're usually creating problems. At that gain level, even small projector misalignments create visible hotspots — a bright bloom in the center of the image that makes ball flight harder to track.
By the Numbers
The physics here are consistent enough across screen manufacturers that some reliable benchmarks hold up:
- Half-gain angle on 1.0–1.2 gain screens is typically 40–50° off center axis — meaning brightness doesn't drop to half until you're nearly perpendicular to the screen. (Source: Projection screen manufacturer specification sheets)
- Hotspot risk increases sharply above gain 1.4 — visible center bloom can appear with as little as a 5–6% lateral offset between projector lens and screen center. (Source: Home theater projection community testing)
- Color temperature shift becomes perceptible to most viewers at around 30–35° off axis on screens with gain above 1.3, even when brightness still looks acceptable. (Source: Display measurement industry standards)
- Rooms under 12 feet wide rarely see meaningful off-axis issues — the tee position and any seated viewers are almost always within 15° of center, which is well inside the half-gain angle of any standard impact screen material. (Source: Simulator bay design community guidelines)
Hotspots: What They Are and Why Your Room Layout Creates Them
A hotspot is a concentrated bright area — usually a bloom near screen center — caused by a high-gain screen reflecting light directly back toward the projector lens. The projector is sitting exactly where the screen's reflected light is most concentrated, and the lens picks that up as a bright zone in the image.
Short-throw projectors are especially prone to creating hotspots. The steep angle between projector and screen compresses the reflection cone. If your screen gain is above 1.3 and you're running a short-throw lens, check your image carefully for center bloom before you finalize anything.
The fix is almost always one of three things: use a lower gain screen material, increase your projector throw distance if the room allows it, or change your screen. What it isn't: a projector menu adjustment. Hotspots don't respond to brightness or contrast settings — they're a geometry problem caused by the relationship between gain and projector position.
For the throw distance math on any screen size, the Golf Simulator Projector Throw Distance Calculator covers every common configuration.
Off-Axis Viewing vs. Edge Distortion: Two Different Problems
It's easy to confuse these, so let's separate them.
If your image looks trapezoidal — wider at the top, narrower at the bottom, or stretched on one side — that's keystone distortion from projector angle, not a viewing angle issue. Your projector is angled rather than shooting straight and perpendicular at the screen face. Most projectors have digital keystone correction, but use it lightly: heavy correction softens image sharpness and reduces effective resolution.
True off-axis image quality degradation from viewing angle shows up as brightness reduction and color shift as you move sideways away from center — not as shape distortion. If your center image looks sharp but the left side of the screen looks dimmer than the right when you're standing at center, that's asymmetric brightness from a projector that isn't centered horizontally on the screen.
If you're fighting a general brightness issue from the primary tee position, the Golf Simulator Impact Screen Brightness Settings guide covers how to tune projector output after your screen is installed.
How to Position Your Screen and Projector to Get This Right
Think about it this way: your projector lens, the center of your screen, and your primary tee position should form as close to a straight line as possible. Lateral offset between projector and screen center creates hotspot risk. Lateral offset between your tee position and screen center increases the viewing angle demand on your screen material.
Practical checklist before you lock anything in:
- Center your projector horizontally relative to screen center. Even a 6-inch lateral offset at short throw distances creates uneven brightness across the image.
- Match gain to room width. Under 12 feet wide: gain 1.2–1.4 is usually fine. Over 14 feet wide: stick to 1.0–1.2 to maintain off-axis consistency.
- Shoot perpendicular to the screen face. A screen that's tilted even a few degrees toward or away from the projector changes the effective gain distribution across the image surface.
- If you're ceiling mounting, angle the projector so it shoots as close to perpendicular to the screen as possible rather than steeply downward. The ceiling mount vs. floor stand tradeoff guide covers the geometry implications of each approach.
- Test from multiple positions before finalizing anything. Walk to both side walls and check that brightness is consistent before you anchor the projector mount.
One more thing: screen tension matters here too. A screen with wrinkles or sag changes the local reflection angle across its surface, which creates patchy brightness even from a perfectly centered position. If your image quality varies across the screen face and shifts when you touch the material, that's a tensioning issue — not a gain or projector alignment issue.
The Short Version
Viewing angle isn't a spec that shows up in projector ads. Most screen sellers gloss over it. But it's directly responsible for some of the most common image quality complaints in simulator builds — hotspots, uneven brightness, color that looks off from the side chair.
Match gain to room width. Center your projector horizontally on the screen. Keep your tee position on that same center axis. Those three things eliminate most viewing angle problems before they start.
If you're still choosing your screen and want specs that actually match your room dimensions, browse the full Carl's Place impact screen lineup here — each screen includes gain rating and viewing angle specs so you can match to your specific setup before you buy.
Not sure which simulator fits your room?
The two-minute Simulator Finder Quiz checks your space and budget against every system we carry.


Keep Reading
Related guides

golf simulatorGolf Impact Screen for a Two-Car Garage: How to Size, Center, and Hang One Across the Wide Bay

golf simulatorGolf Impact Screen Max Ball Speed Rating: What Your Screen Really Survives at 110+ MPH

corner setupGolf Simulator Impact Screen for a Corner Setup: How to Angle It Without Wrecking Your Bounce-Back