golf simulator
Golf Simulator Launch Monitor Calibration Tips: Get Accurate Data From Your Home Setup
Here's a number worth sitting with: 58% of all golf simulator installations are in home environments — garages, basements, spare bedrooms — where nobody's there to tell you your launch monitor is at the wrong distance, tilted 6 degrees, or getting confused by a window on the left side of your bay. (Source: Straits Research, Golf Simulators Market Report 2025)
Your device's accuracy specs were measured in a controlled lab. Move it to an uneven garage floor with inconsistent lighting and a mat you eyeballed into position, and you can introduce 3–5% variance on every critical metric. Carry distance. Spin rate. Launch angle. That's not a hardware defect — that's a calibration problem, and it's entirely fixable.
Here's how to do it, device by device.
Why Home Setup Fights Against Your Data
Consumer-grade launch monitors show 3–5% variance on key metrics versus professional systems, which stay closer to 1–2%. (Source: Golf Simulator Guide, Launch Monitor Accuracy and Limitations) The gap isn't in the sensor — it's in how the sensor is being used.
Commercial bays have controlled lighting, level hitting surfaces, and measured distances. Home setups have whatever you've got. A slightly sloped concrete floor. One bulb throwing a shadow. A distance you measured once and haven't verified since.
Every one of those adds error. And the errors compound. Before you blame the device, run through this checklist.
Setup Distance: The Number Most People Get Wrong
Every launch monitor has a required placement distance. This isn't a preference — it's an engineering constraint tied to how the sensors physically capture data. Eyeballing it introduces systematic error on every shot.
Garmin R10
Place it 6–8 feet directly behind the ball. The R10 is radar-only, tracking the ball as it passes through the beam. Too close and the beam clips ball departure too early. Too far and spin data resolution drops. Use a tape measure.
SkyTrak+
The SkyTrak+ is photometric — camera-based, capturing the ball at impact, not in flight. It sits 8–9 feet to the side of the ball, not behind it. This trips up anyone coming from radar devices. Check the side placement every time you move it.
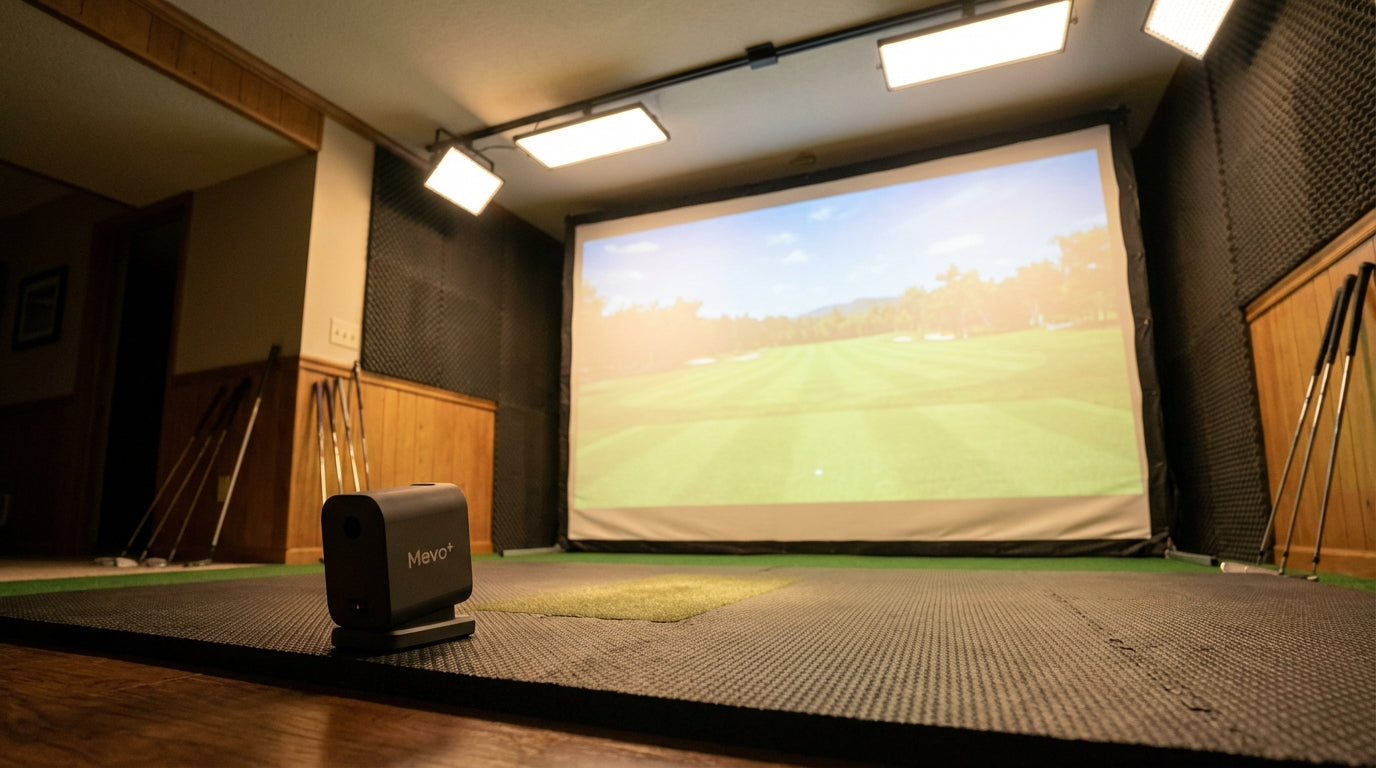
Mevo+
The Mevo+ uses FlightScope's Fusion Tracking (radar + camera) and needs to be 7–8 feet behind the ball. But there's a critical room depth requirement too: at least 8 feet between the device and your impact screen for accurate flight capture. If your room is tight, measure that gap before anything else.
If you're unsure how your room dimensions affect placement, the Golf Simulator Launch Monitor Placement Distance Guide breaks this down precisely.
Level and Alignment: The Calibration Step Nobody Does
This is the most skipped step. It's probably causing the most damage to your data.
The SkyTrak+ requires leveling within ±5 degrees of tilt and roll tolerance. Exceed that and you get systematic sidespin bias and incorrect launch angle readings on every shot. (Source: SkyTrak official Quick Start Guide / GolfSimulatorAdvisor SkyTrak+ calibration guide)
It's not random error — it's a consistent distortion baked into your session. You hit a shot that feels straight and see a 3° miss right. You hit a draw and it looks like a block. The numbers don't match reality because the sensor is lying to you from a bad angle.
Fix: use the in-app level meter in the SkyTrak+ app before every session. For the Mevo+, FlightScope recommends checking alignment to the target line each time you move the unit. For the Garmin R10, point it directly at the target line — a misaligned R10 will show consistent directional bias.
Lighting and Ball Choice: Two More Quiet Accuracy Killers
Lighting
Radar systems (R10, Mevo+ radar mode) don't care about photons. Camera systems do. The SkyTrak+ needs even, diffused lighting to get clean ball images at impact. Strong directional light from one side creates shadows that confuse the photometric system and produce erratic spin readings.
If you're seeing inconsistent data on your SkyTrak+ and you haven't moved the device, check your lighting next. Our Best LED Lighting for a Golf Simulator Room guide covers the exact color temperature and placement setup that works for both image quality and data accuracy.
Ball Choice
The Mevo+ achieves up to 99% spin accuracy indoors — but only when using Titleist RCT (Radar Capture Technology) balls with Fusion Tracking enabled. (Source: FlightScope official FAQ / Carl's Place Mevo+ accuracy guide) Without RCT balls, the Mevo+ falls back to radar-only spin estimation indoors, and accuracy drops significantly.
You're not calibrating a badly configured device — you're feeding the right device bad inputs. See the Best Golf Balls for Indoor Simulator Use post for a full breakdown of which balls match which tracking technologies.
By the Numbers: What the Data Actually Says
- The global golf simulator market was valued at USD 1.74 billion in 2024, projected to reach USD 3.81 billion by 2033. (Source: Fortune Business Insights, Golf Simulator Market Report 2024) More home simulators in operation means more units running without proper calibration — and more golfers trusting skewed numbers.
- 58% of total golf simulator installations in 2023 were home-use. (Source: Straits Research, Golf Simulators Market Report 2025) Home environments are harder to control than commercial bays — making calibration discipline more important, not less.
- Consumer monitors show 3–5% variance versus professional systems at 1–2%, with indoor conditions widening that gap. (Source: Golf Simulator Guide, Launch Monitor Accuracy and Limitations)
- The Garmin R10 carries ±3 yards indoors vs. the Mevo+'s ±1 yard using Fusion Tracking — a difference driven almost entirely by technology and setup discipline. (Source: MyGolfSimulator.com, Mevo Plus vs Garmin R10 Comparison Guide)
Global Golf Simulator Market Size (USD Billions)
Source: Fortune Business Insights, Golf Simulator Market Report 2024
Your Impact Screen Is Part of the Accuracy Equation
Most calibration guides skip this. Your impact screen affects your data too.
A loose, billowing practice net gives the ball unpredictable rebound and changes the effective ball flight path that radar systems track. If your screen is sagging or angled, radar monitors can pick up erratic post-impact signal that bleeds into flight calculations. A flat, tensioned impact screen gives the ball a consistent stop surface — cleaner radar capture, more predictable lighting environment for camera systems.
If you're running the SkyTrak+ or Mevo+ and getting weird readings despite correct placement and leveling, check your screen tension. This is especially relevant in garage setups where DIY frames can sag over time.
Home Launch Monitor Calibration Requirements: Garmin R10 vs SkyTrak+ vs Mevo+
| Spec / Factor | Garmin R10 | SkyTrak+ | Mevo+ |
|---|---|---|---|
| Technology | Radar only | Photometric (camera) | Radar + Camera (Fusion) |
| Recommended setup distance | 6–8 ft behind ball | 8–9 ft to the side | 7–8 ft behind ball |
| Minimum room depth | 15 ft | 15–18 ft | 16–20 ft |
| Indoor spin accuracy | Low (radar limitation) | High (camera-based) | Up to 99% w/ RCT balls |
| Lighting sensitivity | Low (radar unaffected) | High — needs even light | Medium (camera assist) |
| Level/tilt calibration | Basic alignment | Critical — ±5° tolerance | Moderate — flat surface required |
| Impact screen compatibility | Full | Full | Full (8 ft min screen distance) |
Quick Calibration Checklist Before You Hit
Four minutes before your next session. Every time.
- Measure setup distance — tape measure, not your foot
- Level the device — in-app level or a bubble level on the unit
- Align to target line — especially R10 and Mevo+
- Check lighting — even and diffused for camera systems, no directional shadows
- Use the right ball — RCT balls for Mevo+ Fusion Tracking indoors
- Check screen tension — a sagging screen is a data quality problem
Run that list and your data will look different immediately. Not because you changed the hardware — because you finally set it up the way it was designed to be used.
And if your screen is part of the problem, browse the Carl's Place impact screen lineup at GolfingSim — flat, tensioned, and engineered to work cleanly with every launch monitor on this list.
Not sure which simulator fits your room?
The two-minute Simulator Finder Quiz checks your space and budget against every system we carry.


Keep Reading
Related guides

golf simulatorGolf Simulator Impact Screen Tear Repair: When to Patch and When to Replace

ambient light rejecting golf impact screenAmbient Light Rejecting Golf Impact Screen: Why True ALR Can’t Survive Your Driver (and What Actually Works)

chipping and puttingGolf Simulator Impact Screen for Chipping and Putting: Does Your Screen Actually Handle the Short Game?