bungee cord
Golf Simulator Impact Screen Wrinkle Fix Tips: Stop the Sag for Good
Here's something most first-time screen buyers don't know: that wrinkle staring back at you from across your hitting bay probably isn't a defect. According to installation guidance from Virtual Golf Simulator and Carl's Place, most wrinkles introduced during shipping and folded storage will self-resolve within a few days once the screen is hung under proper tension — no steaming required. (Source: Virtual Golf Simulator / Carl's Place Blog)
The problem? Most people see a wrinkle and immediately crank every bungee as tight as it'll go. That over-tensioning is actually one of the primary causes of permanent screen distortion. So before you touch a single cord, understand what's actually causing the problem.
Why Your Impact Screen Has Wrinkles in the First Place
Not all wrinkles are the same problem. Diagnosing which type you have determines which fix actually works.
Shipping and Storage Creases
Screens get folded and compressed in boxes for days or weeks. The polyester or woven fabric holds those folds until tension pulls them out. These are the most common wrinkles — and the least concerning. Give them 24–72 hours hung under proper tension before doing anything else.
Uneven Bungee Spacing
If your bungees are spaced too far apart, the screen sags between attachment points. The load concentrates at whatever grommets are connected, pulling the fabric unevenly and creating folds in the unsupported spans between them. This is where most post-installation wrinkles actually come from.
Insufficient Rear Clearance
If your screen is mounted too close to the back wall, it can't flex on ball impact. Instead of absorbing the energy, it rebounds taut — and each hit stress-folds the fabric in the same spot. Repeat that a few hundred times and the crease becomes permanent.
Material Fatigue Over Time
Even indoors, projector heat and ambient light gradually degrade polyester fibers. This doesn't cause immediate wrinkles, but it makes re-tensioning progressively less effective as the screen ages and the weave loosens.
The Tension Window: Not Too Tight, Not Too Loose
There's a goldilocks zone for screen tension, and it's measured simply: after attaching all your bungees, there should be a 2–3 inch gap between the screen edge and the frame on each side. (Source: Golfbays Impact Screen FAQs / PlayBetter Golf Simulator Space Blog)
Too little gap means you're over-tensioned. The fabric is stretched tight against the frame, grommets are under constant stress, and the screen is more likely to tear or permanently warp. Too much gap means under-tension — you'll get visible center sag and distorted image projection at the edges.
The mistake most builders make is pulling the screen into perfect flatness. Flat is actually over-tensioned. The screen should look just slightly relaxed — not droopy, but not drum-tight either. That 2–3 inch gap is your indicator, not your eyes.
Bungee Spacing: The Fix Most Builders Skip
If you've got wrinkles after setting correct tension, bungee spacing is the next place to look. Industry recommendations call for bungees spaced every 8–12 inches (20–30 cm) along the entire perimeter. (Source: Canvas ETC – How To Install Hanging Golf Impact Screen) Most DIY builds use far fewer attachment points than that.
Wider spacing means the screen spans farther between grip points — and that unsupported span sags. The fix is adding more bungees at the problem zones, not cranking the existing ones tighter.
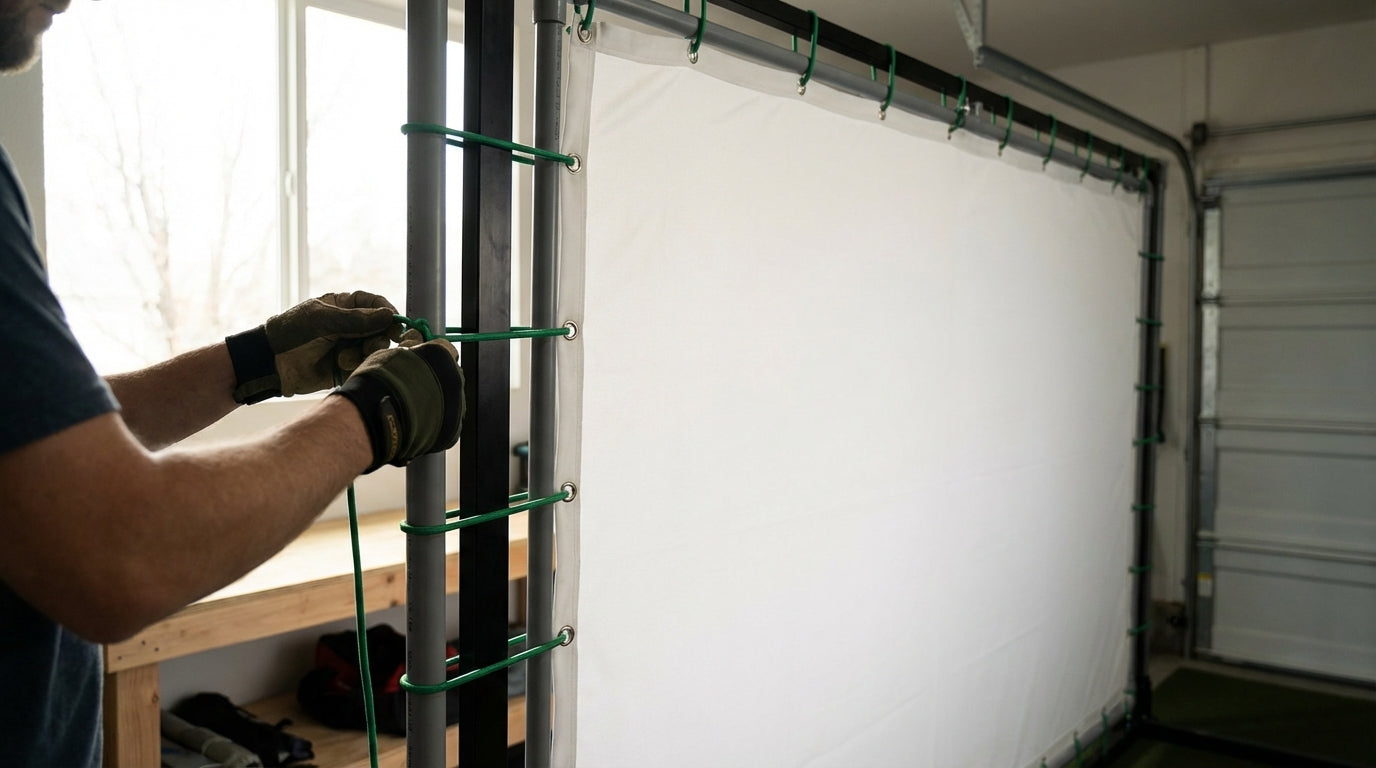
Different zones of the screen also benefit from different bungee lengths. Longer bungees give more flex and work better on sides and bottom where ball impacts are most frequent. Shorter bungees create more pull and are better suited to the top edge where gravity works against you.
Recommended Bungee Cord Length by Screen Zone for Wrinkle-Free Tension
Source: Carl's Place / My Golf Simulator / Canvas ETC installation guides — compiled industry recommendations
Attachment Method Matters More Than You Think
Bungee balls aren't the only way to hang a screen — but they are the most forgiving. For a deeper look at hardware options, check out our guide on impact screen frame attachment methods. Here's how the common approaches stack up against each other for wrinkle risk:
Impact Screen Attachment Methods: Wrinkle Risk & Tension Adjustability Comparison
Swipe to compare →
| Attachment Method | Wrinkle/Sag Risk | Tension Adjustability | Best Use Case |
|---|---|---|---|
| Ball bungees (6"–9") | Low — absorbs impact flex | High — swap lengths per zone | Standard DIY frame builds |
| Zip ties only | Medium — no flex, stress at grommets | Low — cut and redo to adjust | Rigid top-rail mounting only |
| Rope/paracord lacing | Medium-High — uneven pull common | Medium — re-tie per section | Budget builds, irregular frames |
| Direct wall mount (bolted) | High — no give, permanent creasing | Very Low — requires hardware changes | Commercial permanent installs only |
| Bungee + zip tie hybrid | Low — zip ties set top, bungees handle sides | Medium — bungee zones adjustable | Recommended by Carl's Place for mixed frames |
The takeaway: if you're using zip ties only, that's likely contributing to your wrinkle problem. Zip ties create hard stress points at each grommet with zero flex. Ball bungees absorb impact energy and let the screen equalize tension across the full edge between shots.
By the Numbers: What the Data Says About Screen Tension
Here's what actual installation guides and materials research tell us:
- 8–12 inch bungee spacing along the perimeter distributes load evenly and prevents the localized grommet stress that causes visible sagging between attachment points. (Source: Canvas ETC – How To Install Hanging Golf Impact Screen)
- 2–3 inch edge gap after tensioning is the target indicator of correct tension — enough slack to absorb impact without drooping visibly in the center. (Source: Golfbays Impact Screen FAQs / PlayBetter Golf Simulator Space Blog)
- 12–16 inches of rear clearance behind the screen is the minimum for proper impact flex. Less than that and repeated ball strikes create permanent stress folds over time. (Source: My Golf Simulator – How to Hang a Golf Impact Screen)
- ~15% tensile strength loss in polyester fibers after 500 hours of UV and heat exposure — meaning older screens may not re-tension as cleanly as new ones, regardless of bungee setup. (Source: Canvas ETC / Journal of Applied Polymer Science, Smith et al., 2018)
Context matters here too: the global golf simulator market hit $2.12 billion in 2025 and is projected to grow to $2.29 billion in 2026 at an 8.7% CAGR. (Source: Fortune Business Insights) More DIY installs from first-time buyers means more avoidable wrinkles — and more reason this kind of guide matters.
Step-by-Step: How to Re-Tension a Wrinkled Screen
If you've got a wrinkle problem right now, here's the process. Don't skip steps.
1. Remove all bungees. Start completely from scratch. You can't accurately dial tension when some cords are loaded and others aren't — everything reads false.
2. Check rear clearance. Measure the gap between the back of your screen and the wall behind it. If it's less than 12 inches, fix that before tensioning anything. A screen with no room to flex will keep developing stress wrinkles no matter how you adjust the bungees.
3. Attach the top edge first. Use shorter bungees (6 inches) on the top rail, spaced every 8–12 inches. The top sets the foundation for everything else.
4. Work the corners diagonally. Corner grommets pull in two directions simultaneously, so they need the longest bungees — 10–12 inches. Don't over-tighten corners. That's the fastest way to get a star-pattern wrinkle radiating outward from each corner.
5. Attach side and bottom edges. Nine-inch bungees work well for sides and the bottom rail. Match spacing to what you used on top.
6. Measure your edge gap. All four sides should show 2–3 inches between the screen edge and the frame. If one side is off, swap bungee lengths in that zone — don't just pull harder on what's there.
7. Wait 24–48 hours. Seriously. Most remaining wrinkles will flatten out on their own once the fabric relaxes under consistent tension. Only adjust again if sag persists after that window.
If you're still seeing issues after this, the problem may be with the frame itself rather than the screen. Our complete impact screen installation guide covers frame sizing and attachment from scratch if you need to go back to basics.
When Wrinkles Won't Go Away
If you've re-tensioned correctly, waited it out, and you're still seeing the same wrinkles in the same spots — a few specific things could be happening.
Grommet damage. If a grommet has pulled through or deformed, that attachment point can't hold tension evenly. You'll see a localized pucker at that spot regardless of bungee length. Inspect each grommet closely before assuming it's a tension problem.
Out-of-square frame. An irregular frame creates uneven tension no matter how carefully you hang the screen. Check your frame corners with a square and level before blaming the fabric.
Material fatigue. Screens that have seen thousands of ball impacts lose the ability to hold even tension as the weave loosens over time. This is normal wear. If this sounds like your situation, our guide on impact screen maintenance covers how to extend the life of an aging screen before committing to a replacement.
Most wrinkle problems are fixable without buying anything new. More bungees, better spacing, correct rear clearance — that handles 80% of cases. But if you've run through all of it and you're still looking at a screen that won't cooperate, it might genuinely be time for an upgrade. Browse Carl's Place impact screens — built for DIY installs and engineered to tension cleanly from the first hang.
Not sure which simulator fits your room?
The two-minute Simulator Finder Quiz checks your space and budget against every system we carry.


Keep Reading


