
golf simulator
Golf Simulator Impact Screen for a Shed: How to Size, Hang, and Tension It Right
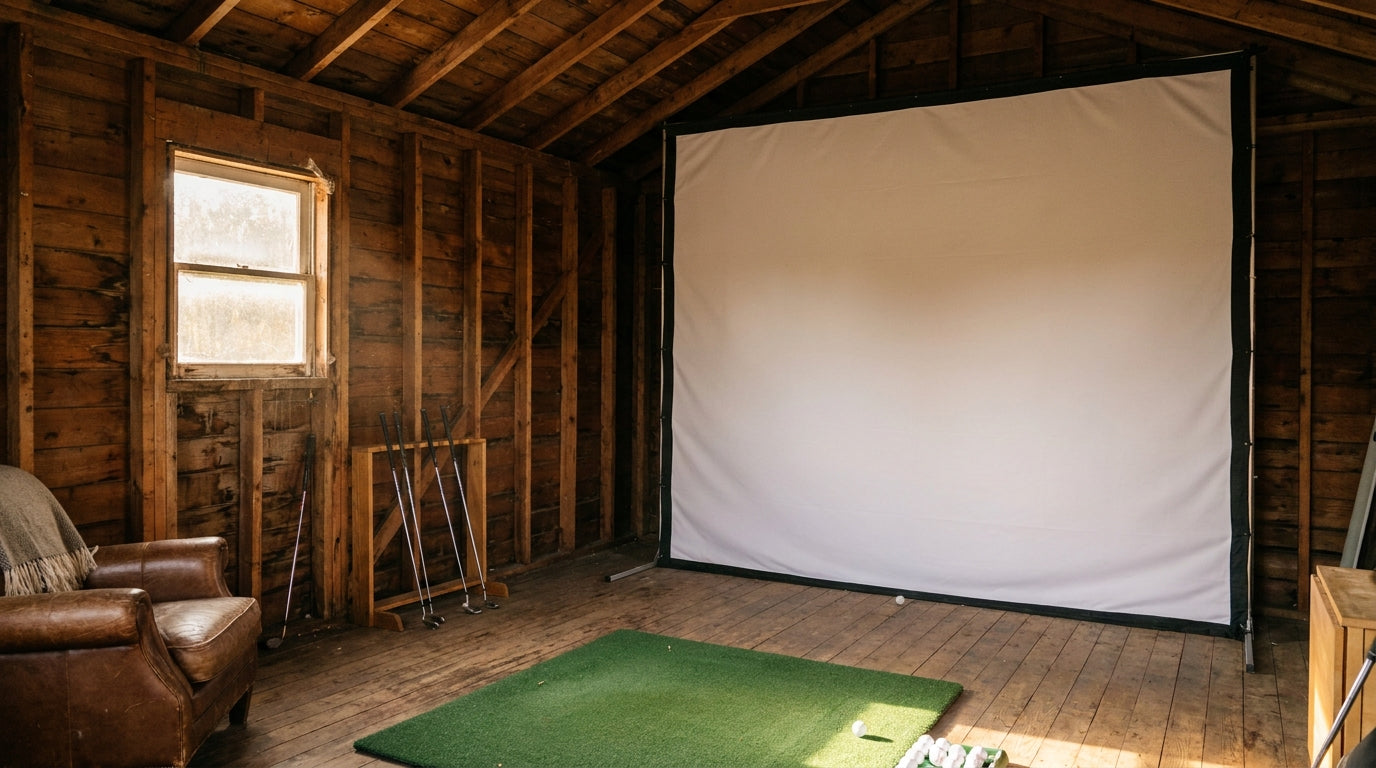
Here's the number that kills most shed sim dreams before the first swing: 8 feet is the absolute minimum ceiling height for a golf simulator, and you really want 9 to 11 feet to swing a driver freely (Source: Indoor Golf Design / Rapsodo). A lot of backyard sheds sit right at 7 or a sloped 8. That doesn't mean your shed is out — it means you have to plan the screen around the constraints instead of pretending they aren't there.
A converted shed is one of the best-value sim spaces you can build. It's also one of the harshest environments for a hanging screen: low headroom, bare studs, and humidity swings a finished basement never sees. Get the sizing, mounting, and tension right and it lasts years. Get it wrong and you're re-hanging it next spring.
First, Do the Math on Your Shed
Before you buy anything, measure. Ceiling height decides how tall your screen can hang and whether you can swing a driver at all. If you're stuck under 8 feet, you're not automatically done — you just size and mount differently, which we cover in our low-ceiling sizing guide.
Depth matters just as much. You want a minimum of roughly 10 feet (310 cm) between the hitting area and the screen, plus about 7 feet (210 cm) of clearance behind the ball (Source: TrackMan / Carl's Place). In a narrow shed bay, that front-to-back number is usually the real limiter — not width.
Sloped roofs are the classic shed problem. Hang the screen toward the tall wall and put your hitting position under the highest point of the slope so your backswing has room.
Why a Net Won't Cut It in a Small Bay
People love the idea of a cheap net in a shed. The problem is distance. In a confined outbuilding you're standing close to the target, and a net does nothing for your image or your safety margin at short range.
A purpose-built screen is a different animal. Premium 15 oz poly-spacer screens are rated to withstand ball speeds of 180 mph and more (Source: Spectrum Golf / Virtual-Golf-Simulator.com). That cushioning spacer yarn is exactly what you want when the screen sits close to the golfer. If you're still torn, the data comparison in our screen vs. net breakdown settles it.
Fabric Weight Is the Spec That Matters
In a small, tightly-tensioned bay, thin fabric shows every flaw. Standard single-layer polyester screens run 8.7 to 10 oz/yd², while premium three-layer poly spacer materials reach 13.85 to 15 oz/yd² (Source: GolfingSim / MMI Textiles / Home Performance Lab). Heavier, thicker fabric resists the stretch marks and wrinkles that ruin a tight screen.
Golf Impact Screen Fabric Weight by Material Tier
Source: GolfingSim, MMI Textiles (11.64 oz), Home Performance Lab 2026 — oz per square yard
By the Numbers: What a Shed Screen Costs and Faces
Budget is the first question everyone asks. Screens range from under $200 for budget options up to $500–$1,500 mid-range, and $1,500–$5,000+ for premium builds (Source: Golfstead / Big Horn Golfer). For a shed, the middle tier is usually the sweet spot — enough fabric weight to survive close impact without paying commercial-install money.
The bigger threat in a shed isn't ball speed, it's the weather. High humidity supports mold and mildew growth that compromises screen integrity, and temperature swings cause material expansion and contraction that shortens lifespan (Source: Canvas ETC — Golf Impact Screen Durability). An uninsulated shed cycles through both every single day.
Impact Screen Price & Build by Tier
Swipe to compare →
| Tier | Typical Price Range | Construction |
|---|---|---|
| Budget | Under $200 – $245 | Single-layer, ~8.7–10 oz polyester |
| Mid-range | $500 – $1,500 | Single/dual-layer, ~11–14 oz poly |
| Premium | $1,500 – $5,000+ | Three-layer poly spacer, ~14–15 oz, low bounce-back |
Insulate Before You Hang
This is the step shed builders skip and regret. Framing out and insulating the bay does two jobs: it steadies temperature and humidity so your screen isn't expanding and contracting daily, and it gives you solid studs to mount to.
Add a dehumidifier if your shed runs damp. It's cheap insurance against the mold that eats screens from the seams outward — the same battle we detail in our humidity and mold prevention guide.
Framing and Tensioning to Bare Studs
Sheds give you something basements don't: exposed studs you can build a frame right onto. Anchor a rigid frame — steel or heavy conduit — to the framing and hang the screen off that, not off the fabric alone.
Tension is everything. Pull evenly from all four sides so the surface is drum-tight with no slack pockets. Uneven tension is where wrinkles, hot spots, and premature wear start. Bungee-and-grommet systems around a fixed frame handle the shed's temperature swings well because they flex instead of tearing.
Leave a small gap between the screen and the back wall so the fabric can move on impact without slapping the studs behind it.
Bottom Line
A shed can absolutely house a great sim — you just have to respect the ceiling height, the depth clearance, and the humidity. Measure first, insulate, build a rigid frame onto the studs, and buy a screen with enough fabric weight to shrug off close-range impact.
Ready to pick the right fabric for a tight outbuilding bay? Browse our golf simulator impact screens and match the tier to your shed before you frame a single stud.
Not sure which simulator fits your room?
The two-minute Simulator Finder Quiz checks your space and budget against every system we carry.


Keep Reading


