ball return direction
Golf Simulator Impact Screen Return Angle Explained: The Geometry That Keeps You Safe
Here's a stat most first-time sim builders never look up: a properly tensioned impact screen should only return a driver ball 1–3 feet back toward you. Not 6 feet. Not 8. Three feet. (Source: PlayBetter / My Golf Simulator) If your ball is bouncing back farther than that, your screen geometry is off — and that's not just an annoyance. It's a safety issue.
The global golf simulator market hit $1.92 billion in 2025 and is projected to reach $4.75 billion by 2034. (Source: Fortune Business Insights) That growth means thousands of first-time home builders are stuffing sim bays into garages and basements where room depth and ceiling height vary wildly — and where getting the screen angle wrong has real consequences.
Here's exactly how impact screen return angle works, what numbers actually keep you safe, and why the enclosure vs. DIY choice matters more than most people think.
What "Return Angle" Actually Means
Your impact screen doesn't just stop the ball — it deflects it. The deflection angle depends on three things working together:
- Screen vertical plane — is the screen truly plumb, or does the top lean toward or away from you?
- Screen tension — too tight and the screen acts like a trampoline; too loose and the image sags and develops hotspots
- Impact location — balls hitting high deflect upward; balls hitting low deflect downward toward the floor
A screen with slight backward tilt — top angled away from you — naturally sends the ball downward, toward the mat, away from you. That's the safe outcome. A screen with any forward tilt sends the ball back up and toward the golfer. That's the dangerous one, and it's surprisingly easy to build into a DIY frame that sags at the top corners over time.
The goal isn't zero bounce-back. It's controlled bounce-back — balls landing at your feet, not your face.
Room Depth: The Variable That Changes Everything
Tee-to-screen distance isn't just about whether you can complete a full backswing. It determines how much kinetic energy the ball sheds in flight before it reaches the screen — which directly controls rebound speed.
The industry consensus minimum is 10 feet of tee-to-screen clearance. Below 8 feet, you're in foam ball territory — real balls carry too much energy to the screen and rebound dangerously fast. (Source: Shop Indoor Golf)
Recommended Minimum Tee-to-Screen Distance by Room Depth
Source: Shop Indoor Golf / My Golf Simulator / Carl's Place — industry consensus
If you're in the tight room category, screen angle becomes critical. There's less air between the screen and you to slow a rebounding ball. A slight additional backward tilt helps, and foam balls aren't optional — they're mandatory.
North America holds 46.6% of the global simulator market, driven by residential installs in garages and basements where depth varies widely. (Source: Polaris Market Research) That's a lot of homeowners guessing at screen angle in a 9-foot basement.
By the Numbers
- 1–3 feet — the safe bounce-back distance for a driver strike on a properly tensioned screen. Beyond this, your tension or geometry is off. (Source: PlayBetter / My Golf Simulator)
- 10 feet minimum — the industry-standard tee-to-screen clearance. Under 8 feet mandates low-compression or foam balls. (Source: Shop Indoor Golf)
- 30 degrees — the community-standard floor ramp angle for DIY ball return. A plywood ramp on 2×4s at this angle redirects low-screen hits safely back toward the hitting mat. (Source: Golf Simulator Forum)
- 12–16 inches — the rear wall clearance Carl's Place requires behind their screens. Without this buffer, the screen can't flex on impact, and the ball returns at near-full speed instead of being absorbed. (Source: Carl's Place)
That last one is worth rereading. The screen absorbs energy by flexing. Pin it against a wall and that absorption disappears entirely — the geometry can be perfect and the physics still fail you.
Carl's Place vs. DIY Frame: How Each Handles Screen Angle
Most enclosure vs. DIY debates focus on price and looks. The angle and geometry question is where the actual performance gap shows up.
Impact Screen Setup: Carl's Place Enclosure vs. DIY Frame — Angle & Bounce-Back Comparison
Swipe to compare →
| Factor | Carl's Place Enclosure | DIY PVC/Wood Frame |
|---|---|---|
| Screen tension system | Bungee + releasable zip ties with bottom cable — tunable | Fixed grommets or zip ties — difficult to fine-tune |
| Recommended screen clearance from rear wall | 12–16 inches (built into enclosure depth) | Varies — often under-spec'd in DIY builds |
| Ball floor return method | Integrated bottom cable + turf ramp | DIY ~30° plywood ramp on 2×4s (community standard) |
| Bounce-back distance (driver) | ~1 ft with Premium 3-layer screen | 1–4+ ft depending on tension and material |
| Max rated ball speed absorption | 250 mph (Premium screen) | Varies by DIY material — typically 100–180 mph |
| Vertical screen plane | Plumb vertical by design — frame holds geometry | Can introduce unintended forward tilt if frame warps or sags |
The key difference: a Carl's Place enclosure holds the screen in a plumb vertical plane by design. A DIY frame that warps, sags, or was never level introduces unintended tilt — and you might not notice until the ball ends up in the wrong corner of the room.
Going DIY? Check your frame with a level before hanging the screen. Front-to-back tilt is harder to spot visually than side-to-side lean. Our guide on frame attachment methods covers how to maintain even tension across the full screen face — because uneven tension creates localized angle problems even when the frame itself is plumb.
What Goes Wrong When the Geometry Is Off
Forward Tilt (Top of Screen Leaning Toward You)
Ball deflects upward and forward. A 2–3 degree forward lean on a 10-foot screen shifts the ball's return path toward chest height. DIY frames that sag at the top corners are the most common cause. This is why a properly rated screen installed with bad geometry still fails — the material rating assumes correct installation.
For context on what those ratings mean, see our breakdown of impact screen ball speed ratings — because the number on the spec sheet assumes the screen can actually flex the way it's designed to.
Tight Tension Without Rear Clearance
Screen acts like a trampoline. Ball hits, barely any fabric flex, and most of the kinetic energy bounces straight back. Carl's Place requires 12–16 inches of wall clearance specifically to prevent this. Their Premium 3-layer screen is rated for 250 mph ball speeds — but only when the screen has room to move. (Source: Carl's Place)
Before You Hang the Screen: A Quick Setup Checklist
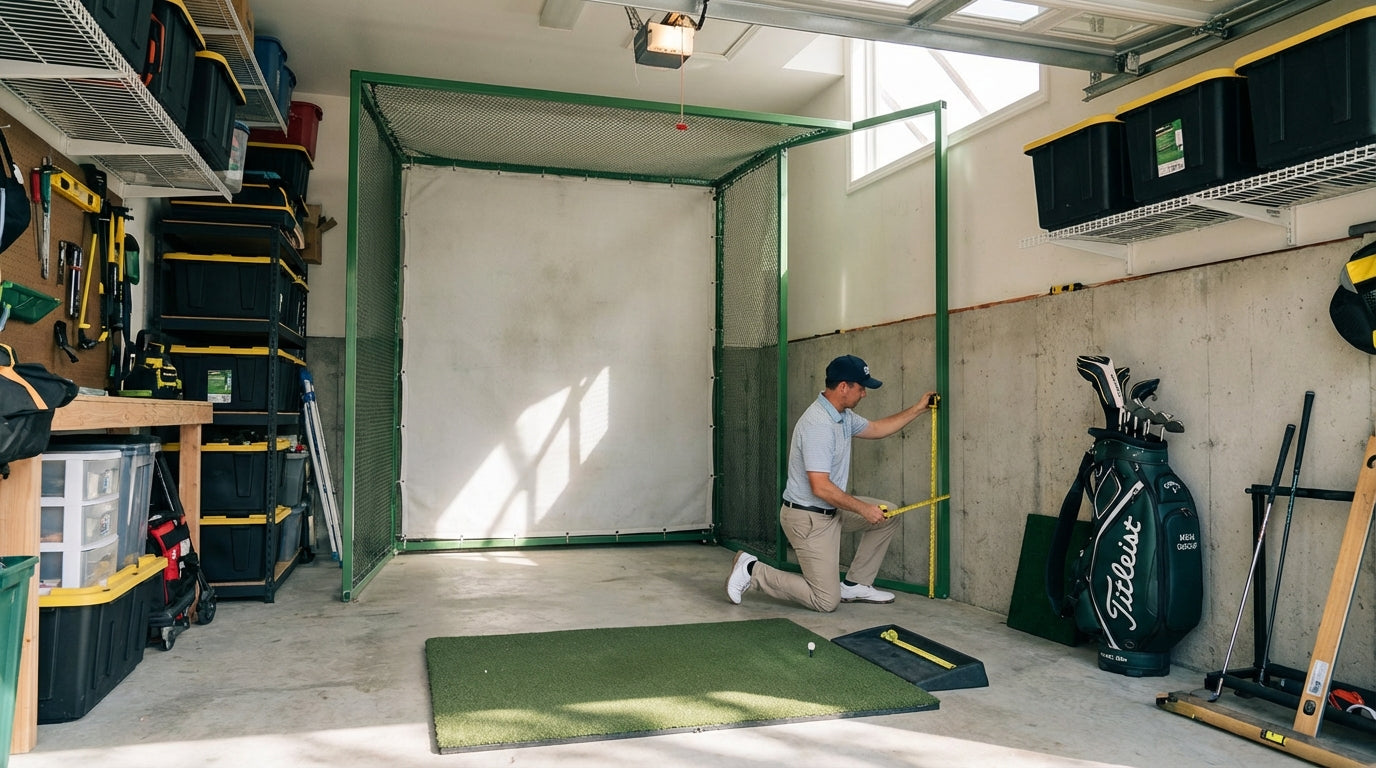
- Measure tee-to-screen distance — 10 feet minimum. Mark it on the floor before you build anything.
- Check frame plumb — level front-to-back and side-to-side. Shim or adjust before attaching the screen.
- Allow rear wall clearance — Carl's Place requires 12–16 inches. Apply the same spec to DIY frames.
- Tension evenly — start at the corners, work toward the center. Uneven tension creates localized angle problems even on a plumb frame.
- Test with foam first — before full-speed swings, roll a foam ball off a club face toward the screen and watch where it goes. Down toward the mat = correct. Up toward you = fix the frame geometry before you hit anything real.
- Install a floor ramp — the 30-degree plywood ramp is the community standard for a reason. Balls that hit low on the screen need somewhere to go that isn't straight back at your ankles.
Once your room depth and frame geometry are confirmed, our impact screen frame size guide will help you make sure the screen dimensions match your bay correctly before you order.
Get the Geometry Right the First Time
Return angle isn't a fine-tuning detail — it's a foundational safety variable. The right geometry sends the ball to your feet after every swing. The wrong one sends it somewhere you really don't want it going.
Keep room depth at 10 feet minimum. Hold the screen in a true vertical plane. Give it room to flex. And if you're not confident a DIY frame will hold its geometry over time, a Carl's Place enclosure builds most of these answers in by design — the angle is correct, the clearance is spec'd, and the tension system is tunable from day one.
Shop Carl's Place Impact Screens →
Not sure which simulator fits your room?
The two-minute Simulator Finder Quiz checks your space and budget against every system we carry.


Keep Reading
Related guides

golf simulatorGolf Impact Screen Max Ball Speed Rating: What Your Screen Really Survives at 110+ MPH

corner setupGolf Simulator Impact Screen for a Corner Setup: How to Angle It Without Wrecking Your Bounce-Back

golf simulatorGolf Simulator Impact Screen for a Shed: How to Size, Hang, and Tension It Right