custom screen
Golf Impact Screen Finishes Explained: How to Choose the Right Edge for Your Setup
When you order a custom impact screen for your golf simulator, the material itself is only half the story. The other half? How the edges are finished. The finish you choose determines how you hang it, how it looks, how much viewable area you get, and whether it fits your specific enclosure setup. If you've been shopping for golf impact screen finishes and feeling overwhelmed by the options, this guide breaks down every finish type Carl's Place offers — so you can pick the right one on the first try.
1. Basic Finished Edge
Includes a sewn-in 2.5 inch strip of vinyl without grommets on each edge of the impact material. Provides an aesthetically pleasing finish and stability to the impact material, but does not supply the screen with a hanging or tensioning mechanism.

2. Finished Edge with Grommets (Classic)
Our basic finished edge, but add in grommets that allow for support hanging and/or tensioning for the impact screen. Also called our classic finish.

Grommets are placed in all four corners with the next grommet on each side 5.5 inches away from the corners.
Then, grommets are spaced equally across the remaining space between the near-corner grommets (the ones that are 5.5 inches away from the corner). The spacing between the remaining grommets is based on the screen size to ensure there is equal tensioning.
3. Finished Edge with Flaps (Classic with Flaps)
Flaps are added to the finished edge with grommets to cover the frame and give you that finished, professional look. The flaps themselves will not fully protect the frame from a ball ricocheting off of it. For added protection, you'll want to include optional foam inserts with your order.
Not only do you get the same stability and tensioning abilities as the finished edge with grommets, but also an additional flap that can provide a smooth transition from the impact screen to your enclosure or setup. Also known as our classic with flaps finish.

The most common application for this screen with nylon flaps would be as a replacement screen inside one of Carl's original DIY enclosures. However, some golfers will use this screen in a custom setup; for example, they might connect the strip of loop on the flaps to a strip of hook on a wall.
In August of 2023, Carl introduced an updated enclosure that improved: the overall versatility of the enclosure; ball bounce back; and visuals with a seamless turf-to-screen transition. As part of the new enclosure, the impact screens are made with a sleeve in the bottom where a cable runs through to attach to the enclosure frame, while the sides and top of the screen attach to the frame with releasable zip ties.
The sides and top of the screen still include the flaps with a loop fastener strip on the end that attaches to the enclosure wall, where there is a strip of hook fastener.

NOTE: This screen style is custom-engineered for use in Carl's C-Series DIY Enclosures ONLY. These screens are not available for separate purchase.
4. Finished Edge with Loop Fastener
This finish adds a 1-inch loop fastener strip around all edges, giving you a versatile attachment surface that works with any hook fastener material — foam padding, wall-mounted strips, or custom enclosure builds. It's a great choice for golfers who want flexible attachment options or are building a custom setup around hook-and-loop mounting. It's also the go-to finish when replacing a screen inside one of Carl's original Pro Enclosures, where the foam cushions with hook fastener attach directly to the loop fastener on the screen.
Carl's new Pro Enclosure impact screens come with the sleeved bottom and flaps on the sides and tops. Foam inserts, which protect your pipes from errant shots and you from ricochets, are now optional instead of included.

However, these screens are also used by customers who have big plans for what they want to attach to the screen. If you're curious about the different screen material tiers themselves, check out our guide on choosing the right impact screen material.
5. Unfinished Edge Edge
No vinyl border. No grommets. Just the raw screen material cut to size. Why would anyone want this? Two big reasons:
- Maximum viewable area — you gain roughly 2.5 inches of projected image on every edge where you skip the finish. That can add up to a noticeably larger image.
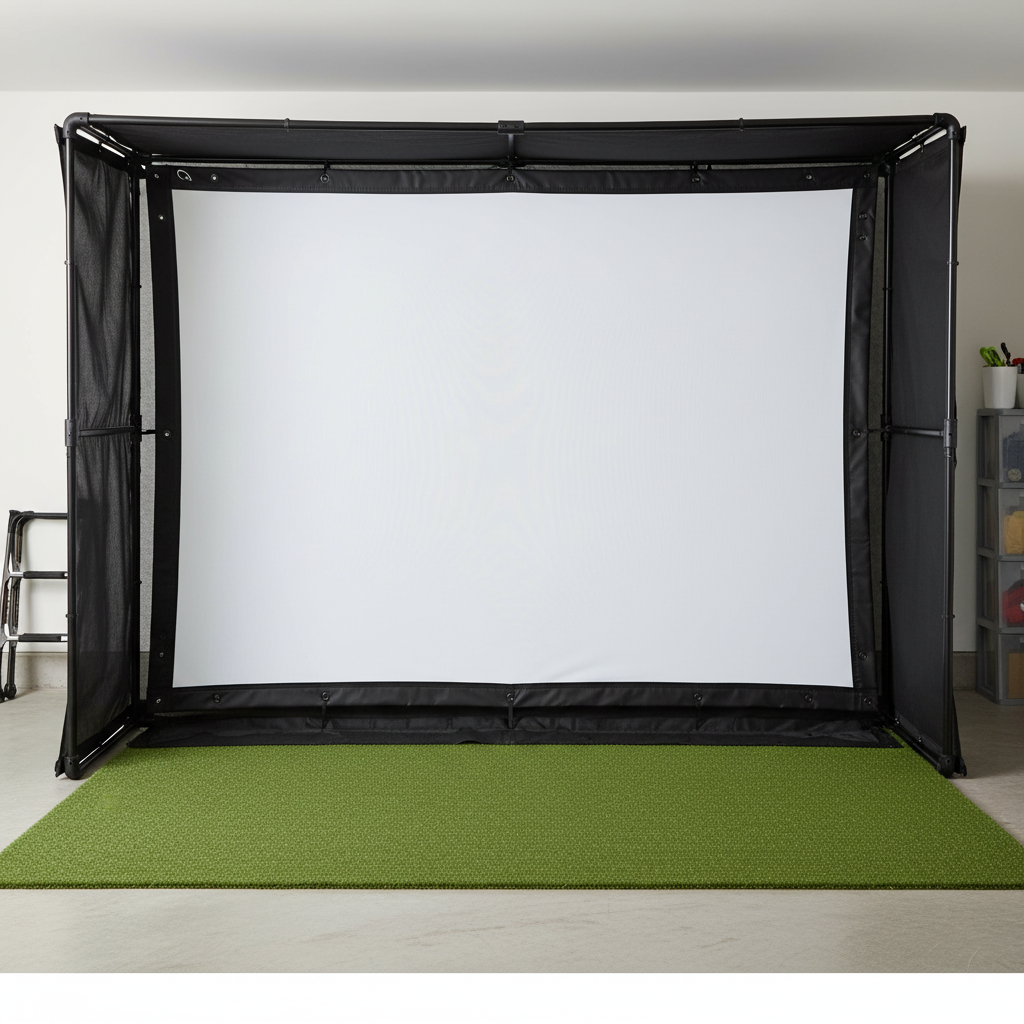
- Immersive floor transition — a raw bottom edge lets your turf run right up to the projected image with no visible border. It creates a seamless carpet-to-screen look that makes the sim feel more real.
The trade-off: raw edges may wear faster over time and offer less structural support than finished edges. But for many builders, the visual payoff is worth it — especially if you're already optimizing your screen size for the room.
Unfinished Edge Material

Unfinished edge screens can provide a customer with 2.5 inches more of viewable space per edge. This is great for a carpet turf to digital, projected image turf transition for an immersive environment. Keep in mind that this edge may decline faster and does not supply the same support and tension as other finishes.
Golf Impact Screen Finishes: Quick Comparison
Swipe to compare →
| Finish Type | Grommets | Flaps | Loop Fastener | Best For |
|---|---|---|---|---|
| Basic Finished Edge | No | No | No | Clean look, no hanging needed |
| Classic (Grommets) | Yes | No | No | Most DIY setups, pipe hanging |
| Classic with Flaps | Yes | Yes | No | DIY enclosures, professional look |
| Loop Fastener | Yes | No | Yes | Custom setups, hook-fastener surfaces, Pro Enclosure replacements |
| Raw Edge | No | No | No | Max viewable area, immersive setups |
Mix and Match: Custom Finishing Options
Here's where it gets interesting. You don't have to use the same finish on all four edges. Carl's Place lets you mix and match — grommets on top, raw edge on the bottom, flaps on the sides, whatever your setup requires. This is perfect for builders who want that immersive raw-edge floor transition but still need grommets up top for hanging.
One thing to keep in mind: custom combination orders are typically not returnable, so measure twice and plan your mounting method before ordering.
Custom Screen Corners: What Different Combos Look Like
When you mix finishes, the corners are where you really see how everything comes together. Here's a visual breakdown of common corner combinations so you know exactly what to expect:
Finished Edge with Grommets to Finished Edge

Side Finishing Style *
Black Vinyl with Grommets ▾
Bottom Finishing Style *
Black Vinyl (No Grommets) ▾
Finished Edge with Grommets to Unfinished Edge

Side Finishing Style *
Black Vinyl with Grommets ▾
Bottom Finishing Style *
Unfinished Edge ▾
Finished Edge with Grommets and Flap to Finished Edge with Grommets

Side Finishing Style *
Black Vinyl with Grommets ▾
Bottom Finishing Style *
Black Vinyl with Grommets and Flaps ▾
Finished Edge with Grommets and Loop Fastener to Finished Edge with Grommets and Flap

Side Finishing Style *
Black Vinyl with Grommets and 1" Loop ▾
Bottom Finishing Style *
Black Vinyl with Grommets and Flaps ▾
Finished Edge with Grommets to Finished Edge with Grommets and Loop Fastener

Side Finishing Style *
Black Vinyl with Grommets ▾
Bottom Finishing Style *
Black Vinyl with Grommets and 1" Loop ▾
Finished Edge with Grommets and Loop Fastener to Unfinished Edge

Side Finishing Style *
Black Vinyl with Grommets and 1" Loop ▾
Bottom Finishing Style *
Unfinished Edge ▾
Finished Edge with Grommets and Loop Fastener to Finished Edge

Side Finishing Style *
Black Vinyl with Grommets and 1" Loop ▾
Bottom Finishing Style *
Black Vinyl (No Grommets) ▾
Finished Edge with Grommets and Flap to Unfinished Edge

Side Finishing Style *
Black Vinyl with Grommets and Flaps ▾
Bottom Finishing Style *
Unfinished Edge ▾
Which Finish Should You Pick?
For most DIY builders, Classic with Grommets is the safest bet. It works with virtually any hanging method and gives you flexibility. If you're building inside a Carl's Place DIY enclosure, Classic with Flaps is the natural choice for that clean, enclosed look.
If you want the most immersive experience possible and you're willing to sacrifice a bit of edge durability, go raw on the bottom and grommets on top. And if you need hook-and-loop attachment — whether you're replacing a screen in an older Pro Enclosure, mounting foam padding, or building a custom setup around hook fastener surfaces — the loop fastener finish is what you need.
Not sure which screen material tier to pair with your finish? We've got a full breakdown in our 2026 impact screen buyer's guide.
Not sure which simulator fits your room?
The two-minute Simulator Finder Quiz checks your space and budget against every system we carry.


Keep Reading
Related guides

golf simulatorGolf Impact Screen Max Ball Speed Rating: What Your Screen Really Survives at 110+ MPH

corner setupGolf Simulator Impact Screen for a Corner Setup: How to Angle It Without Wrecking Your Bounce-Back

golf simulatorGolf Simulator Impact Screen for a Shed: How to Size, Hang, and Tension It Right