golf simulator
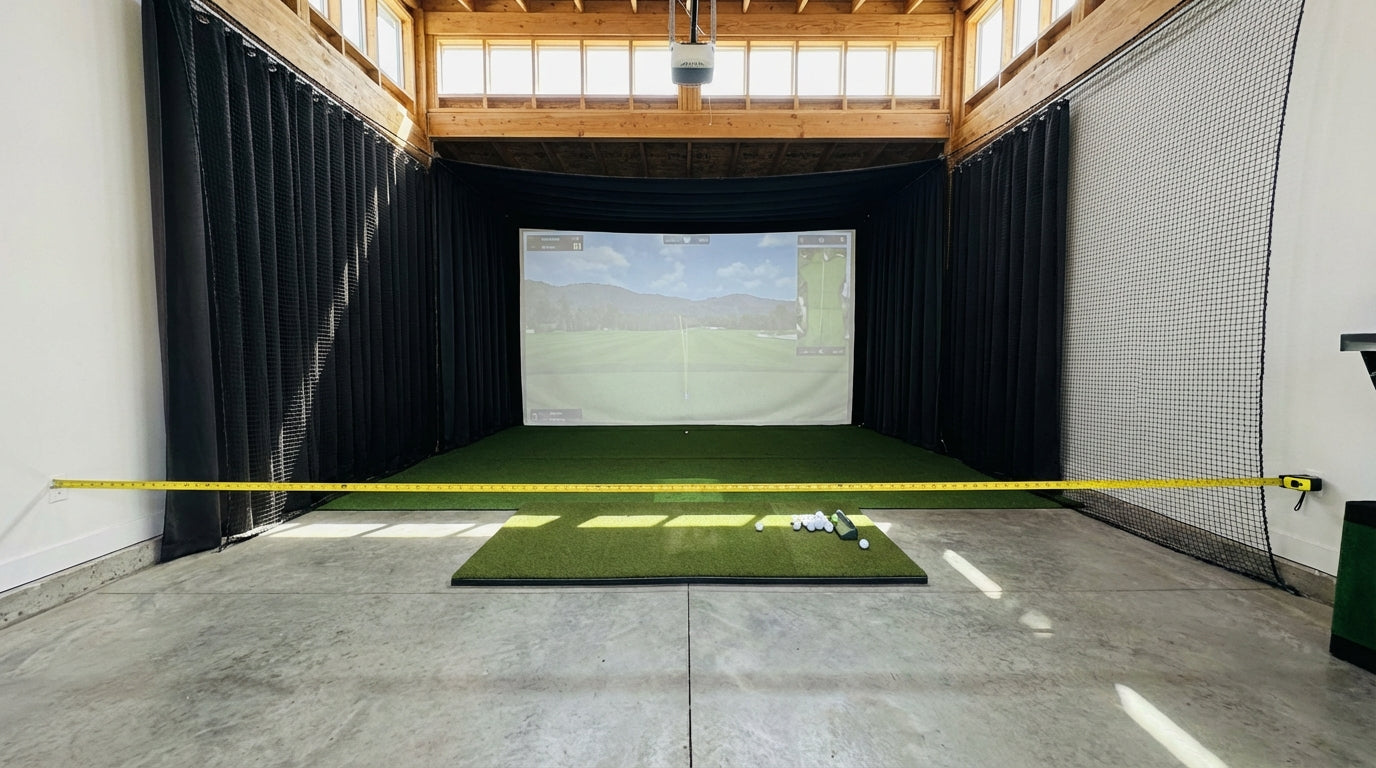
Golf Simulator Minimum Room Width Requirements: The Numbers That Determine Your Screen Size
Most golfers measure their ceiling before they measure their walls. That's backwards. Your ceiling height determines whether you can swing — your room width determines whether you can swing safely and hit every club in your bag. A 10-foot-wide room isn't just cramped — it physically locks out one-handed golfers unless you offset the tee, and even then, a driver is off the table. Get the width wrong before you buy a screen, and you'll spend the rest of your simulator life playing punch shots off a 7-iron.
Here's what the real numbers say — and why room width should be driving your screen selection, not the other way around.
Why Room Width Is the Dimension That Actually Matters
Ceiling height gets all the attention in setup guides, and for good reason — you need at least 9 feet to swing a driver without tagging drywall. But width is where most setups go quietly wrong.
When your room is too narrow, you don't get a clear warning. You just keep teeing up with a restricted stance, sub-consciously shortening your backswing, and wondering why your simulator numbers feel off. It's not your swing. It's your room.
Width controls three things:
Swing clearance — the lateral space your club travels through on the backswing and follow-through.
Tee position — whether you can center the mat or have to offset toward one wall.
Screen size options — wider rooms unlock wider screens, which means better immersion and more realistic ball flight projection.
The Real Minimum Width Numbers (By Use Case)
10 Feet: The Absolute Floor
Ten feet is the minimum room width that allows any golf at all — but it comes with a major asterisk. At 10 feet, you can only safely swing if you shift the tee toward your backswing side wall, leaving roughly 6 inches of clearance on the follow-through side. (Source: Carl's Place)
This setup works for a right-handed golfer in a specific position. Left-handed? Different setup entirely. Sharing the bay? Not happening at 10 feet without repositioning the mat every time someone switches sides.
12 Feet: Functional, With Real Tradeoffs
Twelve feet is where a lot of basement and garage setups land. It's workable, but barely. You can swing a 3-wood with the tee offset about 4 inches toward your backswing wall — but full driver swings remain restricted. (Source: Golf Simulator Forum)
Think of a 12-foot room as an irons-focused bay that occasionally tolerates a 3-wood. Not ideal, but usable if you plan around it and keep your expectations realistic.
14 Feet: The Real Minimum for a Proper Setup
Fourteen feet is where your simulator stops feeling like a compromise. This width supports a centered tee position for both right- and left-handed golfers, which means you can swing freely, invite a lefty, and run through every club in your bag. (Source: Carl's Place / Rain or Shine Golf)
If you're building a dedicated simulator room and have any flexibility in the layout, 14 feet should be your hard minimum.
16 Feet: Full Immersive Bay
Sixteen feet gives you everything: centered tee, full swing clearance for any golfer, side netting on both walls, and enough room for a 14-foot-wide screen. This is where the setup stops feeling like indoor practice and starts feeling like an actual hitting bay.
By the Numbers
10 ft — the minimum room width for a single-handed golfer using an offset tee position. Absolute floor; anything less makes a full swing physically unsafe regardless of skill level. (Source: Carl's Place)
14 ft — the minimum room width to accommodate a centered tee for both right- and left-handed golfers. Width directly gates who can use the simulator — a 10–12 ft room locks out one handedness or forces an awkward offset stance. (Source: Carl's Place / Rain or Shine Golf)
3 inches minimum — required clearance on each side of an enclosure frame, plus at least 12 inches between the back of the impact screen and the wall behind it. These buffers are required for safe screen bounce, frame mounting, and preventing structural damage from errant shots. (Source: Carl's Place)
4 ft 6 in — how far side netting panels extend in front of a cage, standing 10 feet tall. When you add side netting for safety, effective swing-width shrinks on both sides — making a 12-foot room feel like a 10-foot room. (Source: All Sport Systems / My Garage Golf)
Minimum Room Width Required by Simulator Use Case
Source: Carl's Place, Rain or Shine Golf, Golf Simulator Forum
How Screen Width and Room Width Are Locked Together
Your room width doesn't just determine your swing clearance — it determines the maximum screen you can install. Carl's Place recommends leaving at least 12 inches of clearance on each side of the screen frame. That means a 10-foot room limits you to roughly a 9-foot screen. A 14-foot room opens up 12-foot screens. A 16-foot room gets you to 14 feet of hitting surface.
This matters more than most buyers realize. A wider screen means more realistic ball flight projection, better peripheral immersion, and a more natural visual field — especially on draws or fades that would exit a narrow frame on an actual course. If you're investing in a serious setup, don't size your screen first and fit the room around it. Measure the room, subtract the clearances, then select the screen.
Impact Screen Width vs. Minimum Room Width Needed
| Screen Width | Min Room Width | Usable Side Clearance (each side) |
|---|---|---|
| 9 ft | 10 ft | ~6 in (offset required) |
| 10 ft | 12 ft | ~12 in (offset recommended) |
| 12 ft | 14 ft | ~12 in (centered viable) |
| 14 ft | 16 ft | ~12 in (centered + netting room) |
| 16 ft | 18 ft | ~12 in (full immersive setup) |
For a full breakdown of how to translate your room's dimensions into screen size options, the no-nonsense golf simulator screen sizing guide walks through the math step by step.
The Width Thief Nobody Warns You About: Side Netting
Here's the part that catches a lot of people off guard. You plan a 12-foot-wide bay, buy a 10-foot screen, everything looks fine on paper — and then you add side netting for safety and realize your effective swing width just shrank by 3 feet.
Side netting panels extend in front of the cage, not just beside it. They're doing exactly the job you want — catching errant shots before they hit the wall — but you need to account for their footprint when measuring your bay. When side netting is present, a 12-foot room can start feeling like a 10-foot room before you've swung a single club. (Source: All Sport Systems / My Garage Golf)
The side netting setup guide covers this in detail — including how to position your netting so it doesn't eat your usable swing width. Read it before you finalize your bay dimensions or order any netting hardware.
How to Measure Your Space the Right Way
Before you buy anything, run through this sequence:
- Measure raw width — wall to wall, at shoulder height (not floor level, which can be misleading if baseboards or trim are present).
- Subtract enclosure clearances — 3 inches minimum on each side for the frame, plus 12 inches from screen to back wall.
- Subtract side netting footprint — if you're adding netting, account for how far panels extend in front of the cage on each side.
- The remainder is your usable swing width — this determines your maximum screen size and whether a centered tee is even possible.
Also think about who's using the bay. A 12-foot room might work fine for a solo right-handed golfer with an offset tee, but if your left-handed buddy comes over for a round, someone's repositioning the mat or chipping down on every swing. If dual-handed play matters at all, build to 14 feet.
The ceiling height requirements guide covers the vertical half of this same equation — read both before you commit to a room layout or start ordering equipment.
Match Your Screen to Your Room
Once you know your room width, screen sizing becomes almost mechanical. Use the table above as a floor, not a target — if you have the width headroom for a larger screen, use it. A bigger screen in a properly-sized room is almost always a better experience, both visually and for data accuracy on off-center shots.
Ready to match your bay dimensions to the right screen size? Browse Carl's Place impact screens — available from 9 feet to 16 feet wide, with options for every room width and enclosure configuration. Every screen ships with installation hardware and sizing guidance, so you're not guessing when the box shows up.
Not sure which simulator fits your room?
The two-minute Simulator Finder Quiz checks your space and budget against every system we carry.


Keep Reading
Related guides

golf simulatorGolf Simulator Impact Screen Tear Repair: When to Patch and When to Replace

ambient light rejecting golf impact screenAmbient Light Rejecting Golf Impact Screen: Why True ALR Can’t Survive Your Driver (and What Actually Works)

chipping and puttingGolf Simulator Impact Screen for Chipping and Putting: Does Your Screen Actually Handle the Short Game?