freestanding golf impact screen no drilling renters
Freestanding Golf Impact Screen, No Drilling: The Renter's Setup Guide
Here's a number that should make any renter pause before grabbing a drill: tenants who paid a security deposit in 2024 handed over an average of $750, with the standard baseline running about one full month's rent — roughly $1,200 nationwide (Source: Zillow Research). Drill four lag bolts into a wall stud to hang an impact screen, and you've just turned that deposit into a coin flip. Holes count as damage beyond normal wear and tear.
The good news? You don't need a single hole to hit screaming drivers indoors. A freestanding golf impact screen with no drilling is not a compromise — it's the smarter build for anyone who rents. Let's break down how to set one up, tension it properly, and keep your deposit intact.
Why Renters Need a No-Drill Impact Screen
Apartment and condo golf is booming. Home golf simulators are growing more than 20% annually — the fastest-growing slice of a market projected to climb from ~$1.92 billion in 2025 to ~$4.7 billion by 2034 (Source: Fortune Business Insights). A huge chunk of those new buyers live in places where they can't touch the walls or ceiling.
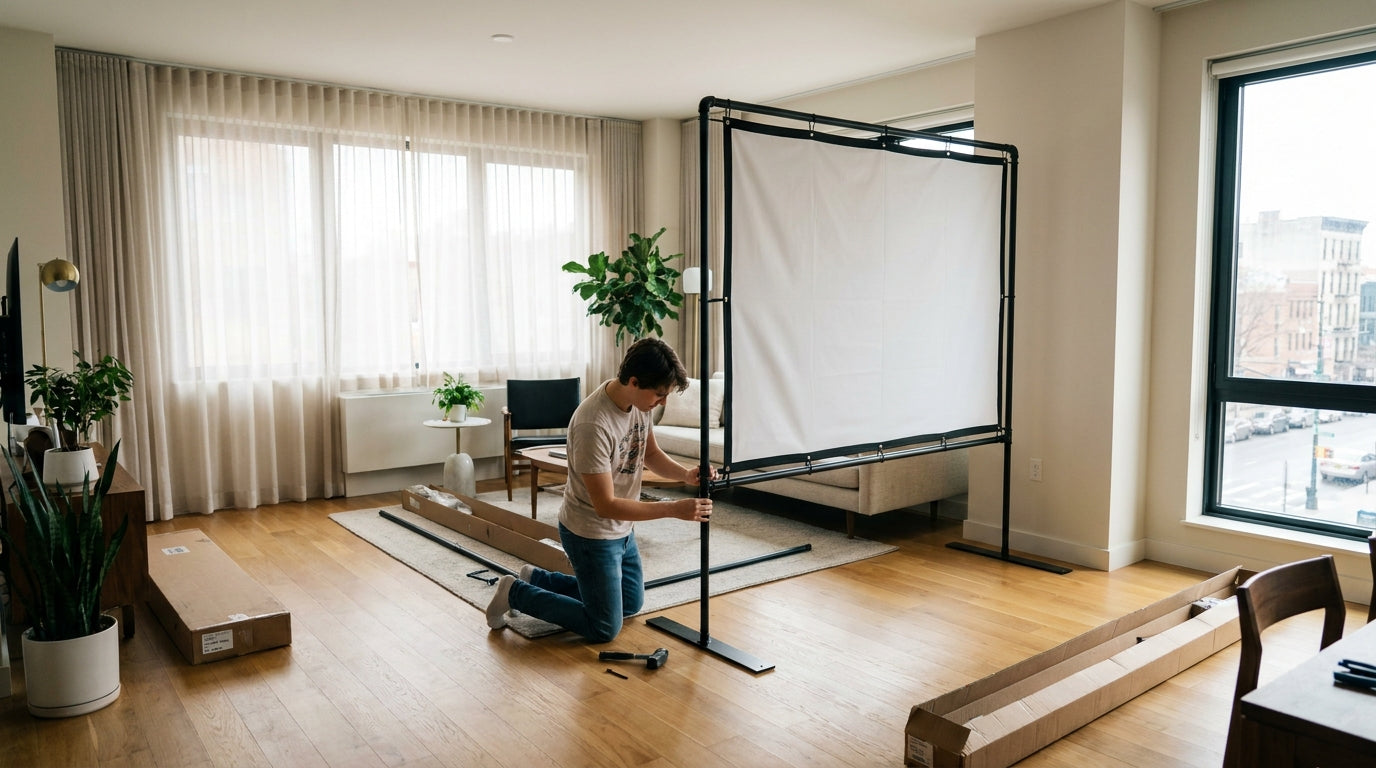
That's the whole game for a renter: the screen has to support itself. No anchors, no studs, no ceiling joists. Just a frame that stands on its own and a screen tensioned tight enough to kill bounce-back.
And tension matters more than people think. A ball struck with a driver should rebound only 1 to 3 feet from a properly tensioned impact screen (Source: PlayBetter Impact Screen Tension Guide). That benchmark is your home test — if balls are rocketing back at your shins, your freestanding frame isn't pulling the screen tight enough.
The No-Drill Methods, Ranked
You've got four realistic paths to a screen with zero holes. Each trades cost for convenience and sturdiness.
1. DIY PVC pipe frame
The cheapest entry point. Lightweight, fully removable, and you can break it down in minutes when the lease ends. The downside is rigidity — PVC flexes, so you'll want thicker pipe and good corner bracing.
2. DIY freestanding (steel or EMT conduit)
The sweet spot for most renters. Self-supporting, rock solid, and still no drilling into the structure. This is the build most serious apartment golfers land on.
3. Pressure-mount tension rods
These use floor-to-ceiling pressure instead of screws — think heavy-duty shower-rod logic. No holes, but they rely on a solid ceiling and consistent pressure, which can creep loose over months.
4. Pre-made freestanding enclosure
Engineered to stand alone out of the box. Most expensive, least fuss. If you want to skip the hardware-store trips entirely, this is it.
No-Drill Golf Screen Setups: Method vs. Cost & Renter Fit
| Setup Type | Approx. Cost Range | Renter / Deposit Fit |
|---|---|---|
| DIY PVC pipe frame | $150–$400 | Excellent — no anchors, lightweight, fully removable |
| DIY freestanding (16x9, w/ screen) | ~$670 | Excellent — self-supporting, no wall/ceiling drilling |
| Pressure-mount tension rods | $400–$900 | Good — relies on floor-to-ceiling pressure, no holes |
| Pre-made freestanding enclosure | $1,100–$2,600+ | Excellent — engineered standalone frame, no drilling |
What the Data Says About Cost and Materials
The biggest myth about no-drill setups is that they're expensive. They're not. A DIY freestanding impact screen enclosure can be built for about $670 for a 16x9 setup including the screen, with basic builds ranging $600–$1,100 (Source: Golf Simulator Forum / Canvas ETC). That's a fraction of premium pre-made enclosures.
But the screen itself is where renters need to pay attention — because a freestanding frame can't lean on a wall behind it to absorb impact. Your material choice does the dampening instead.
Impact screen materials range from 1mm to 3mm thick, with premium poly spacer screens at ~3mm — nearly twice the thickness of standard single-layer screens — to absorb impact energy and cut bounce-back (Source: Canvas ETC / Virtual Golf Simulator). For a no-drill frame, thicker is almost always better. It quiets the impact (a real concern when you share a wall) and keeps balls from leaping back at you.
Fabric weight matters too. Golf simulator polyester screens run from about 8.7 oz lightweight up to 14.04 oz heavy-duty, with heavier, tighter weaves offering more durability and smoother image quality (Source: MMI Textiles / Jason Mills). Just make sure your portable frame can actually hold a heavier screen under full tension without bowing.
Golf Impact Screen Material Thickness by Tier
Source: Canvas ETC & Virtual Golf Simulator material guides
How to Tension a Screen Without Anchoring to Studs
This is where most no-drill builds go wrong. Without wall anchors, you have to generate tension within the frame itself — usually with bungees or elastic cord running from the screen's grommets to the frame, pulled evenly on all four sides.
Pull from the corners first, then work toward the centers of each edge. Even, balanced tension is what keeps the image flat and the bounce-back tame. If you're new to this, our impact screen tensioning system guide walks through the exact method step by step.
Then run the bounce test. Hit a few drivers and watch the rebound — 1 to 3 feet means you nailed it. More than that, tighten up. A freestanding frame also wants to creep and shift over time, so check out our frame anchoring tips for no-drill ways to stop the wander (sandbags and weighted feet are your friends).
DIY vs. Pre-Made: Which Should a Renter Pick?
If you're handy and want maximum value, the DIY freestanding route at ~$670 is hard to beat. But DIY has failure points — sagging screens, flimsy joints, uneven tension — and we cover where homemade rigs actually break down in our honest breakdown of DIY vs. store-bought impact screens.
If you'd rather not gamble on PVC fittings, a pre-made freestanding enclosure costs more but ships engineered to stand on its own. Either way, the move for a renter is the same: let the frame carry the load, never the walls.
Protect the Deposit, Keep the Game
You don't have to choose between practicing your swing and getting your deposit back. A freestanding, no-drill setup lets you do both — and it packs down clean when it's time to move.
Ready to build your renter-friendly bay? Start with a screen built to take a driver at full speed and tension cleanly on any frame. Browse our impact screen collection and set up your sim without a single hole in the wall.
Not sure which simulator fits your room?
The two-minute Simulator Finder Quiz checks your space and budget against every system we carry.


Keep Reading
Related guides

cold garage durabilityGolf Simulator Impact Screen Cold Garage Durability: Will Winter Actually Crack Your Screen?

golf simulatorGolf Simulator Impact Screen for Low Ceiling Basements: How to Size and Mount When Height Is the Enemy

golf simulatorGolf Simulator Impact Screen for Left-Handed Golfers: Does Swing Side Actually Wear It Differently?