affordable launch monitor
How to Build a Budget Golf Simulator Under $2,500 (That Actually Works)

The $2,500 Golf Simulator That Shocked Me
I will be honest — when someone tells me they built a golf simulator for under $2,500, I am skeptical. Most budget setups are either inaccurate toys or missing critical pieces that make them actually usable.
But after testing dozens of setups in the $2,000-3,000 range, I found a combination that actually works. Not "works for the price" — actually works.
This guide breaks down exactly what to buy, what to skip, and how to set it up so you are hitting real shots with real data, not just swinging into a net and guessing.
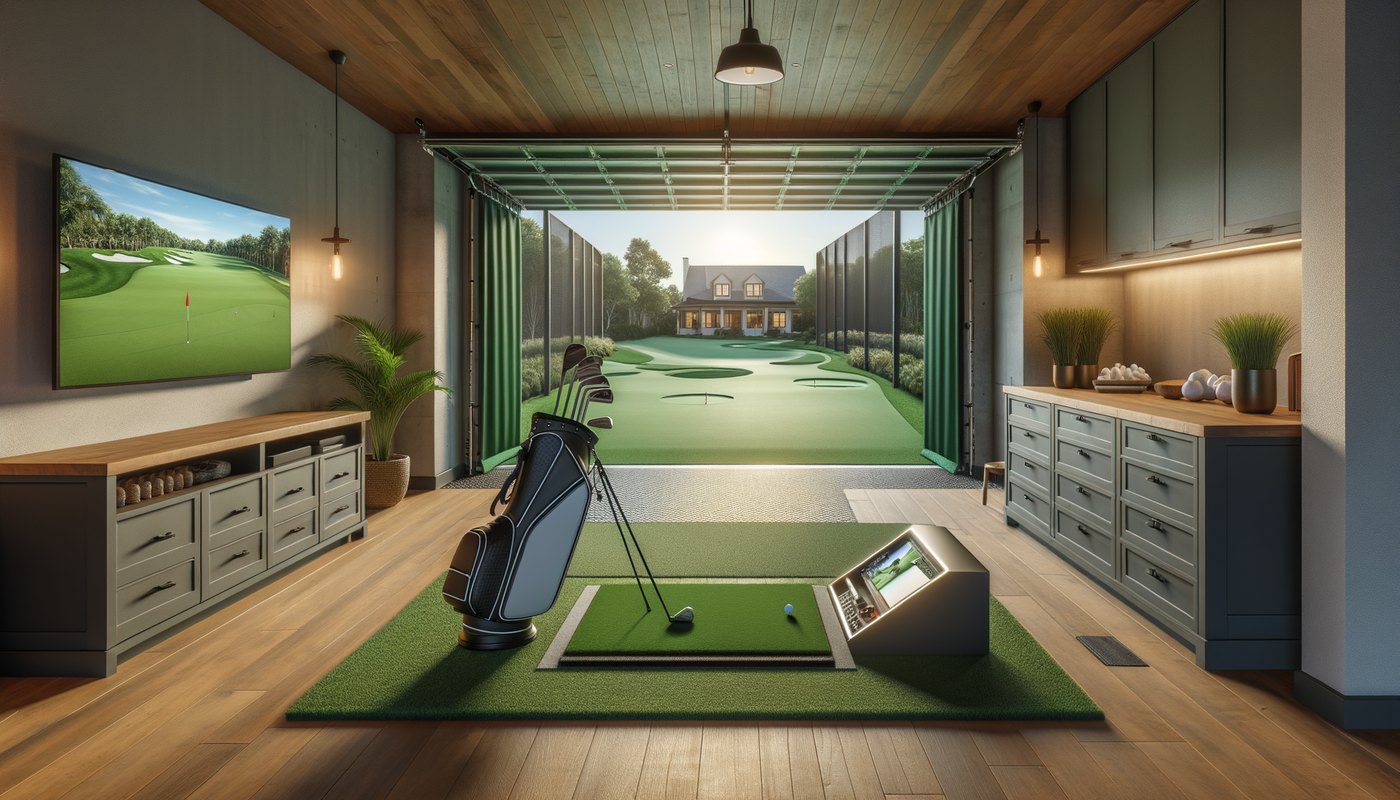
The Complete $2,495 Budget Build
Launch Monitor: Garmin R10 ($599)
This is the heart of your setup. The Garmin R10 launched in 2021 and immediately disrupted the market because it offers features that used to cost $2,000+ alone.
What it measures:
- Ball speed, launch angle, spin rate
- Club path, face angle, angle of attack
- Carry distance, total distance, offline deviation
Why it works: Doppler radar tracks both ball and club data. It sits behind you (not beside), so it works in tight spaces. See our ceiling height guide — the R10 works with as little as 8 feet.
What you need to know: It requires metallic stickers on your clubfaces for accurate club data. The ball data works without stickers. For $599, you get 80% of what a $3,000 launch monitor provides.
Impact Screen and Enclosure: DIY Kit ($400-600)
Here is where most people overspend. You do not need a $2,000 enclosure to start.
Option A: Budget Screen ($150-250)
Buy a raw impact screen material (Carls Place Premium Impact Screen, 7.5 feet x 10 feet) and hang it with heavy-duty grommets and eye bolts. Total cost: ~$200.
Option B: Practice Net + Screen ($400-500)
Get a net enclosure (Spornia SPG-7 or similar for $300-400) and attach your impact screen to the front. This gives you full enclosure without the $1,000+ price tag.
Pro tip: If you have limited space, check our comparison of driving range vs home simulator practice — the net setup works great for focused practice.
Hitting Mat: Premium Turf ($250-400)
Do not cheap out here. A bad mat will wreck your wrists and give you false feedback.
Best budget option: SIGPRO Softy 4 feet x 10 feet hitting mat ($379). Dense foam base with realistic turf feel. It will last years.
Cheaper alternative: Fiberbuilt Flight Deck ($249) — smaller but high quality. Pair with a cheap putting green for full coverage.
Projector: Used or Entry-Level ($300-500)
You do not need 4K. You need bright, clear, and short throw.
Budget pick: BenQ TH671ST ($499 new, $300-350 used). 3,000 lumens, short throw ratio (100 inch image from 8 feet). Works great in garages with some ambient light.
Cheap option: Used office projector ($150-200) from Facebook Marketplace. Look for 3,000+ lumens and HDMI input. It will not be perfect, but it gets you playing.
Computer/Tablet: What You Already Own ($0)
Garmin R10 connects to your phone or tablet via Bluetooth. For simulator software, you can run:
- Garmin Golf app (free): Basic driving range, limited courses
- E6 Connect ($300/year or $9/month): 100+ courses, full simulation
- Awesome Golf ($349 one-time): Great graphics, no subscription
If you want to use a PC for better graphics, any modern laptop with HDMI out works. No gaming PC required for E6 or Awesome Golf.
The $2,495 Total Breakdown
Launch Monitor (Garmin R10): $599
Impact Screen (DIY): $200
Hitting Mat (SIGPRO Softy): $379
Projector (BenQ used): $325
Software (Awesome Golf): $349
TOTAL: $1,852
Under budget by $648! Use that for a better mat, software subscription, or save it for upgrades later.
What This Setup Gets You
Accurate Data
The Garmin R10 is +/- 1-2 yards on carry distance when set up correctly. That is accurate enough to dial in your distances and track real improvement.
Full Simulation
With E6 Connect or Awesome Golf, you are playing full 18-hole rounds on Pebble Beach, St Andrews, and 100+ other courses. Not just a driving range.
Real Improvement
You get launch angle, spin rate, and carry distance for every shot. You will know exactly how far you hit each club — something most golfers never actually measure.
Upgrade Path
Start with this budget build. As you get hooked (and you will), upgrade the projector first, then the launch monitor. The screen and mat will last years.
What to Skip (For Now)
Do not buy these yet:
- Side netting: If you are not spraying shanks 45 degrees, you do not need it. Add it later if necessary.
- Putting turf: Practice putting on carpet or buy a cheap $30 mat. Save the floor space for full swings.
- Overhead lighting: Use your garage lights or add $50 LED shop lights. Do not overthink it.
- Enclosure frame: A hung screen works fine. Add a frame when you want it to look pro.
The Bottom Line
You do not need $10,000 to build a golf simulator that actually improves your game. You need $2,000, some DIY spirit, and realistic expectations.
This budget build will not have the graphics of a $50,000 Full Swing setup. But it will give you accurate data, realistic gameplay, and serious improvement — all for the price of a decent driver and 3-wood.
Ready to build your budget simulator? Check out our Simulator Finder Quiz to get personalized recommendations based on your exact space and budget.
Or browse our budget-friendly simulator packages — we have done the research so you do not have to.
Questions about building a budget golf simulator? Email us at team@golfingsim.com or call (561) 818-7395. We help golfers at every budget build setups that actually work.
Not sure which simulator fits your room?
The two-minute Simulator Finder Quiz checks your space and budget against every system we carry.


Keep Reading


